
Start your business journey online
How can I get API Key, Auth Domain and Database URL from my Firebase account?
For obtaining API Key, Auth Domain and Database URL follow below mention steps:
For New User
Step 1 : Go to Firebase.com
Step 2 : If you have a Firebase account, Sign in, else create an account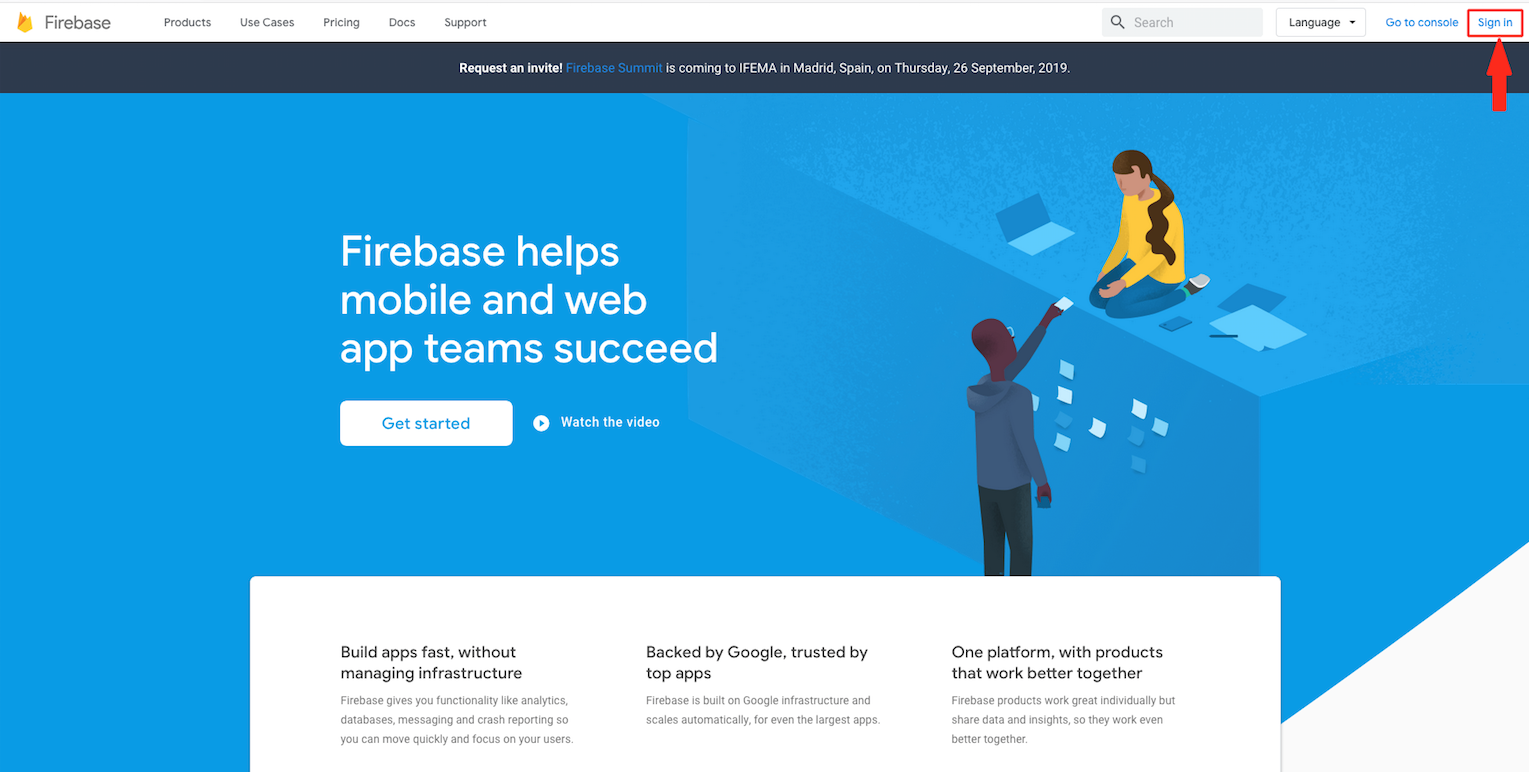
Step 3 : Click on Get Started 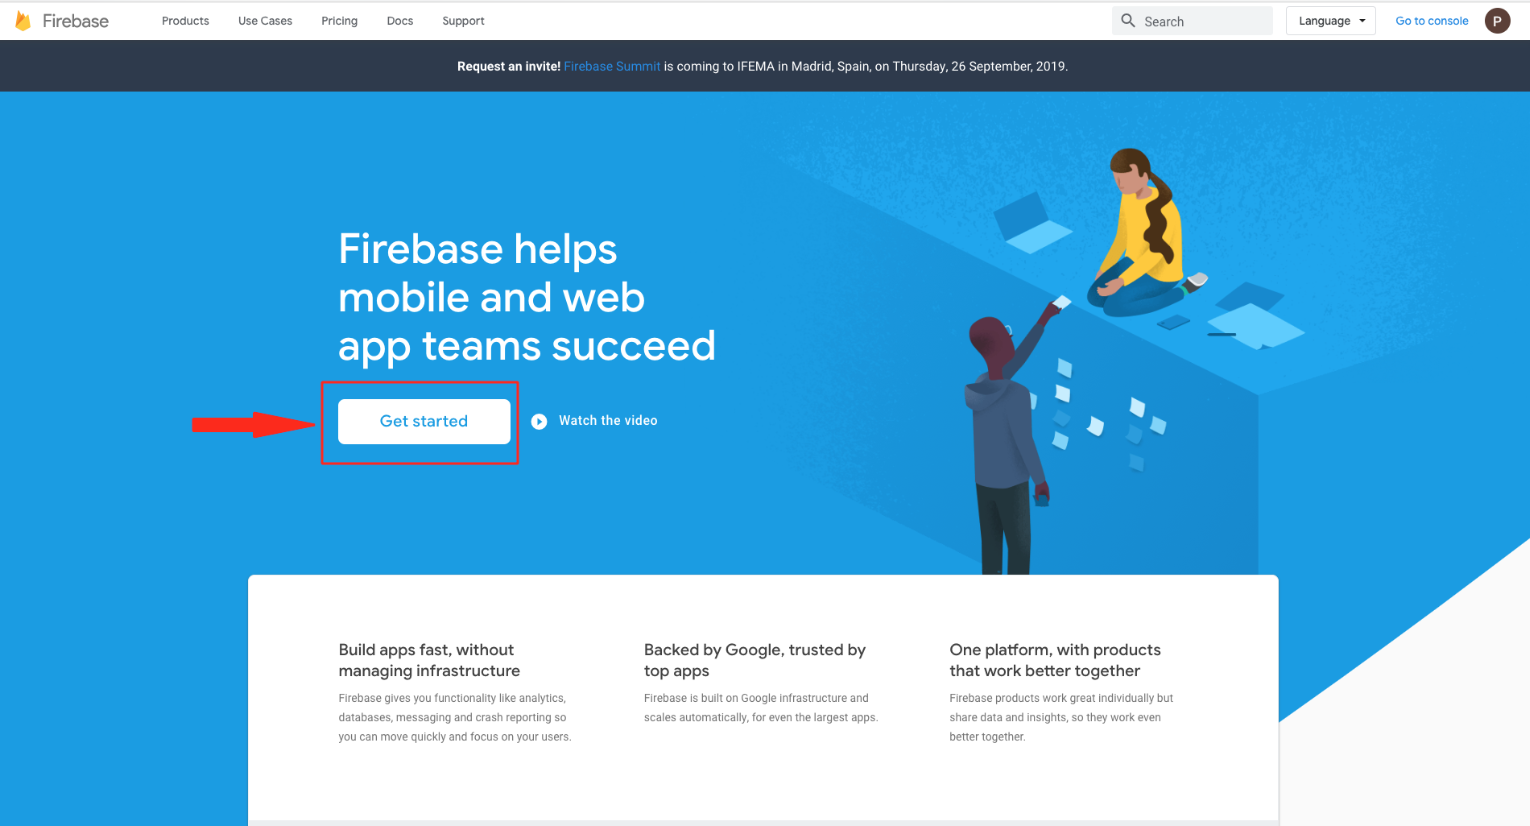
Step 4 : Click on Create a Project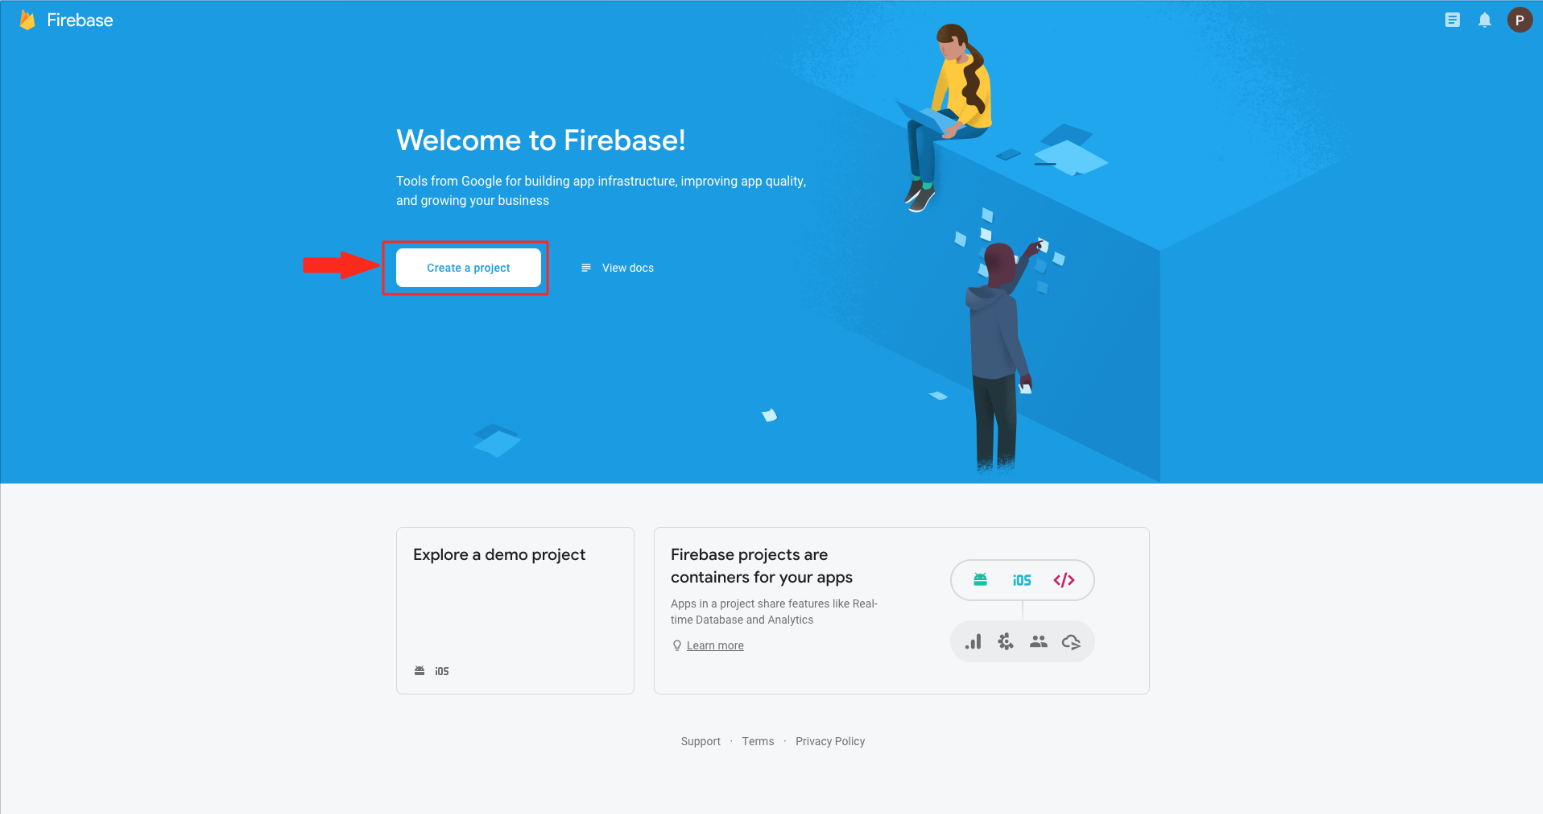
Step 5 : Enter Project name and tick mark the checkbox to accept Firebase terms.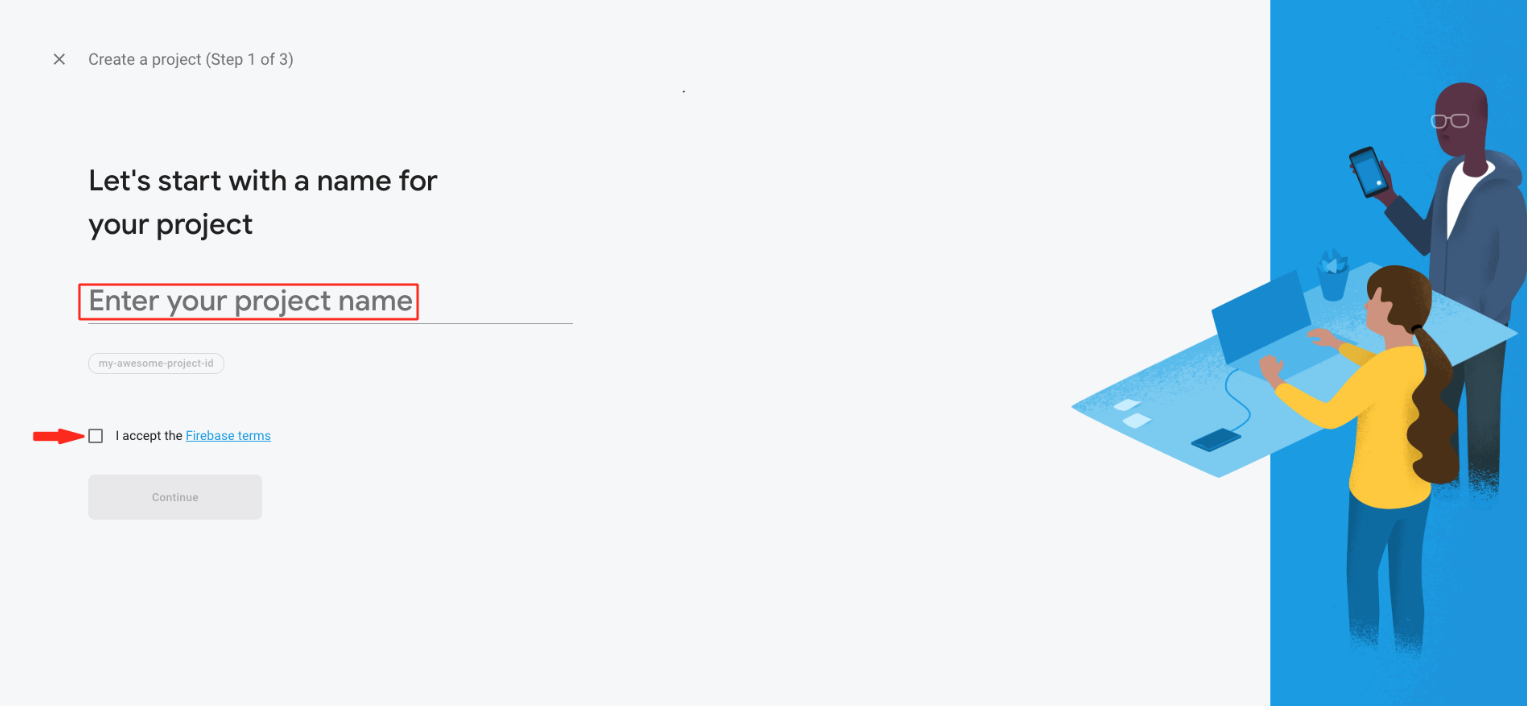
Step 6 : Click on Continue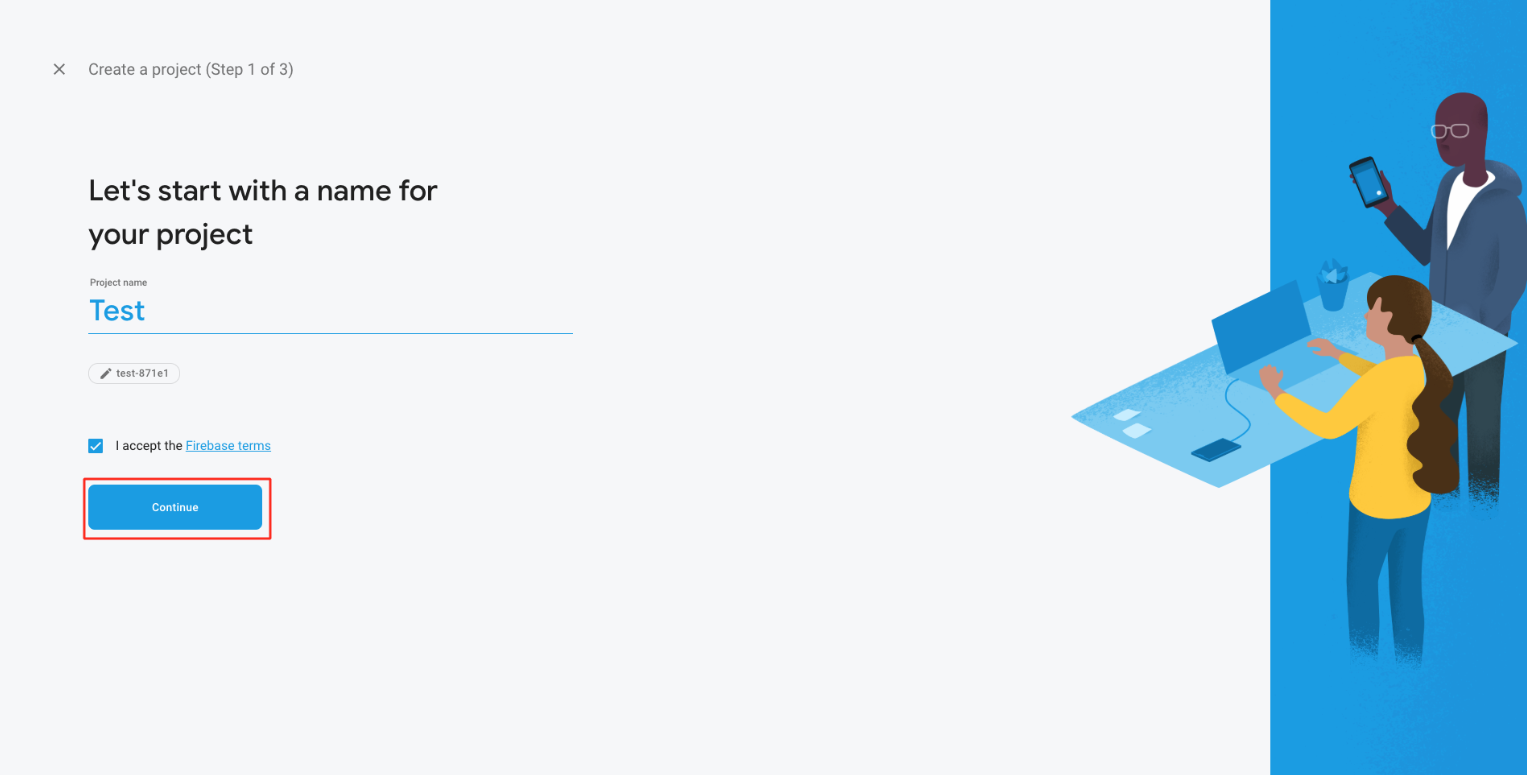
Step 7 : Select "Set up Google Analytics for my project" and click on Continue
Step 8 : Open Configure Google Analytics dropdown menu and tick mark the checkbox to accept both the terms and conditions.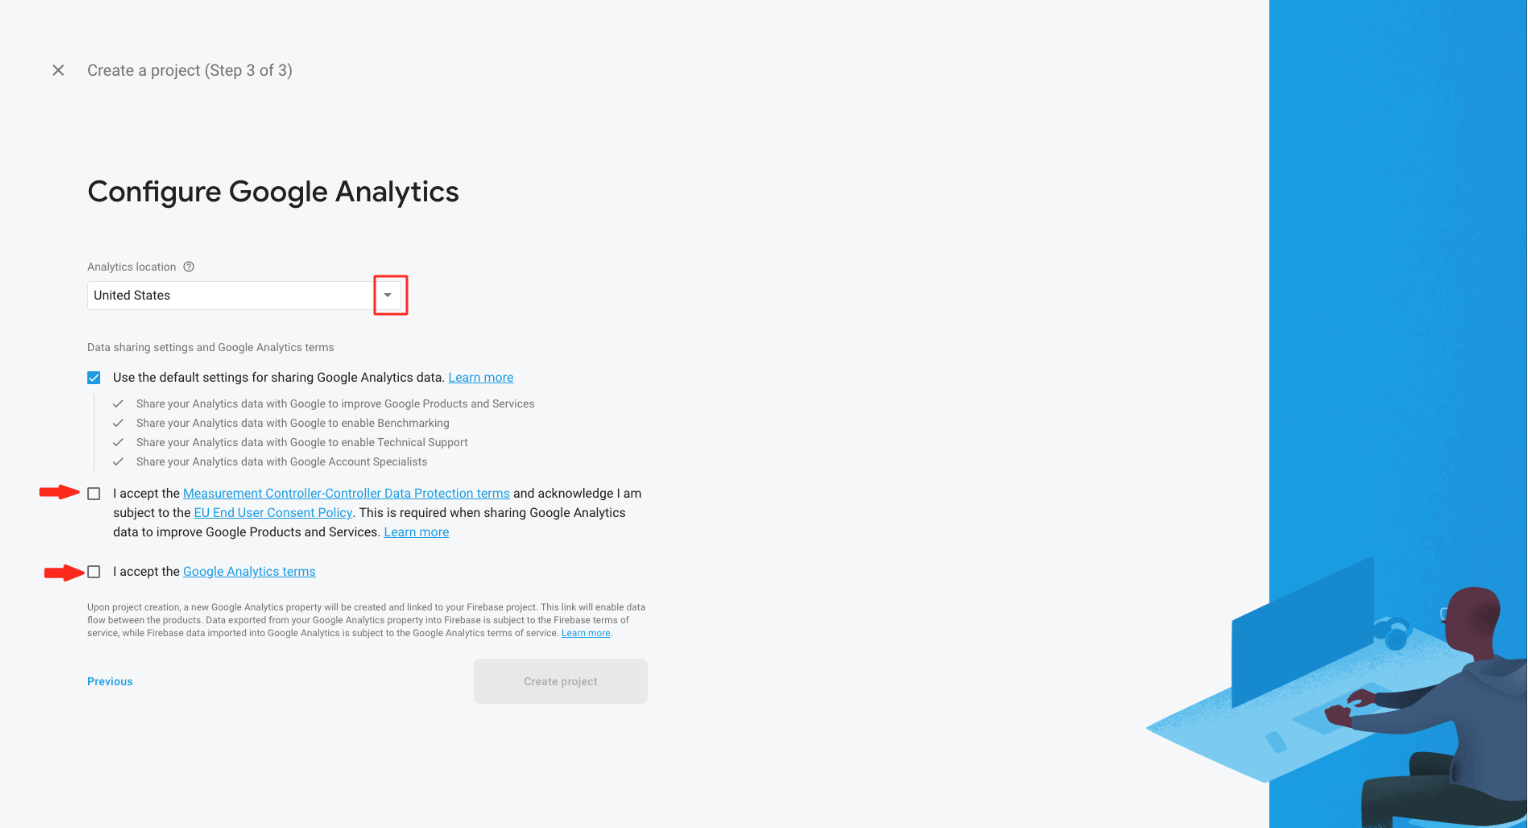
Step 9 : Click on Create Project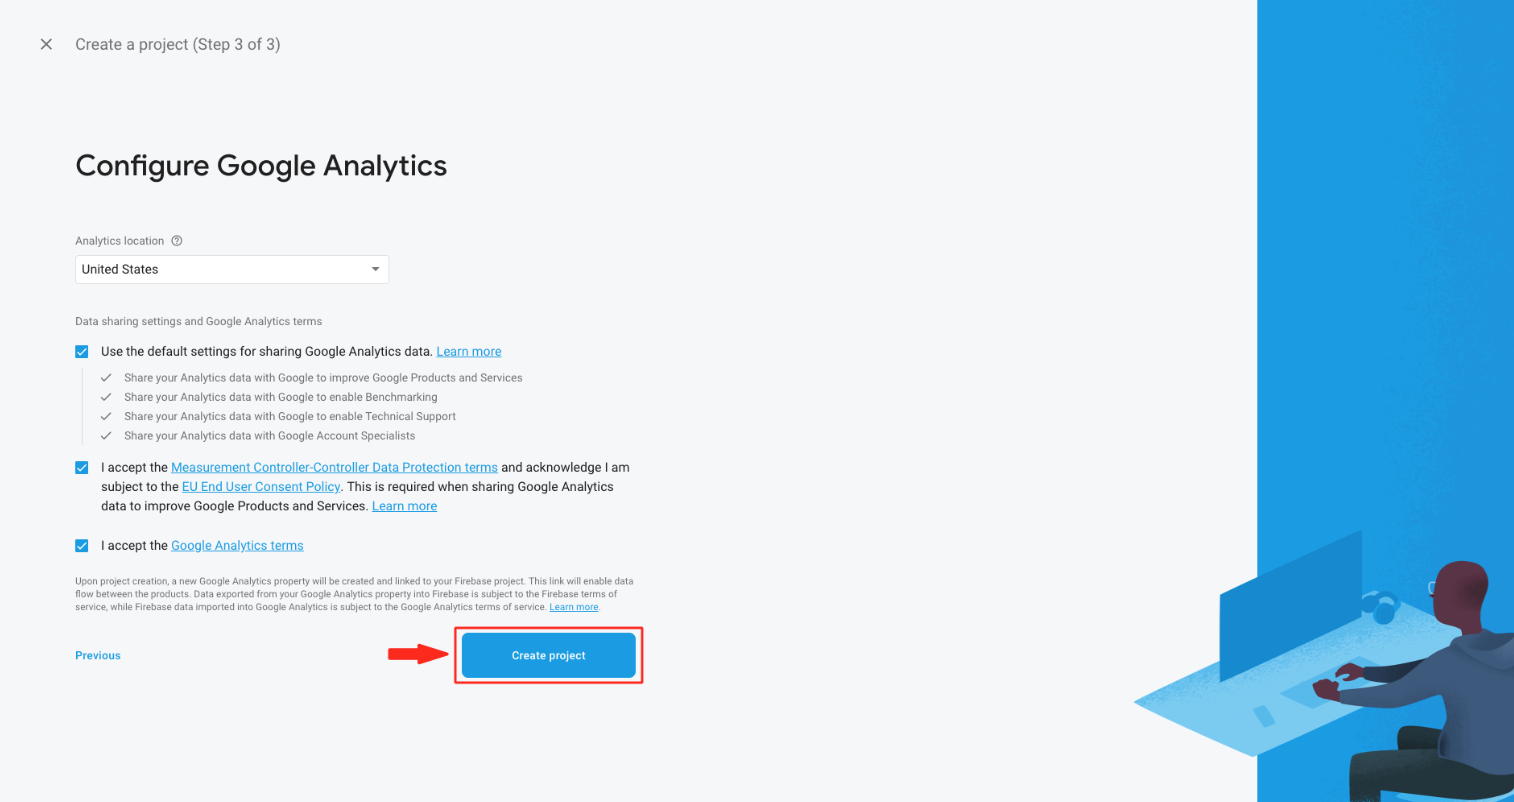
Step 10 : Click on Continue

Step 11 : Click on Add Firebase to your web app 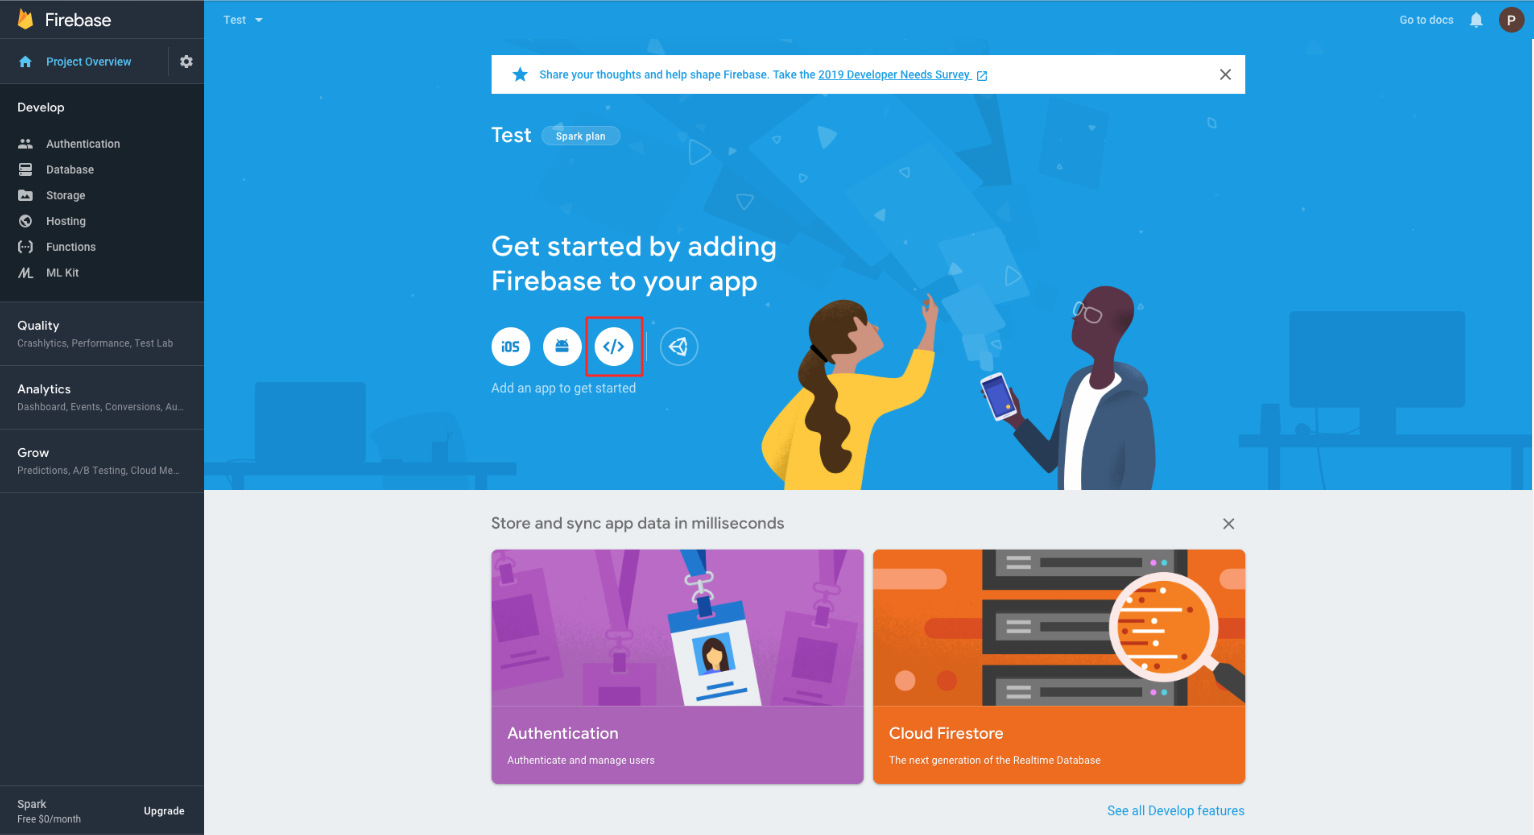
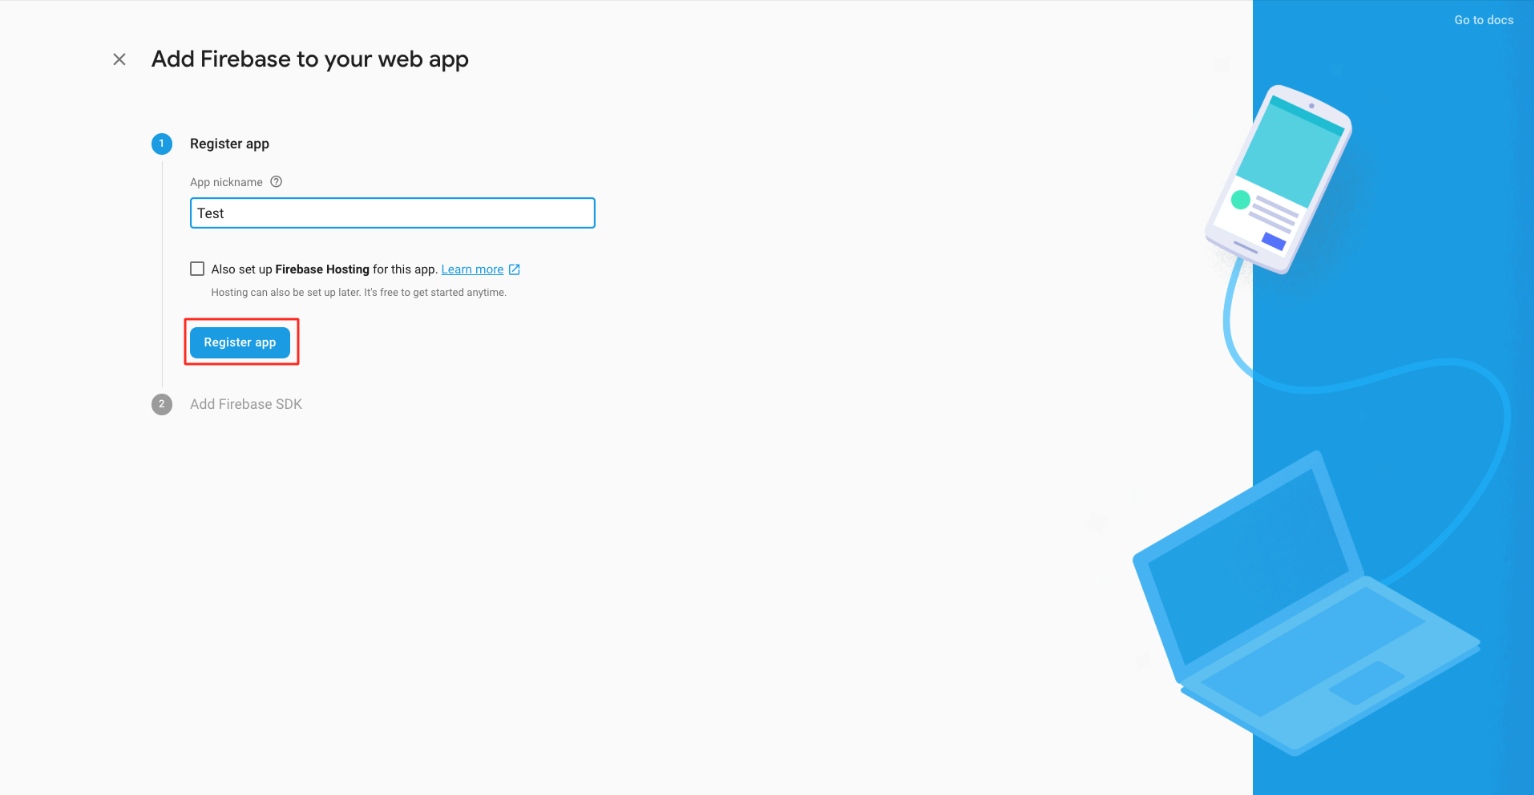
Step 12 : Enter App nickname
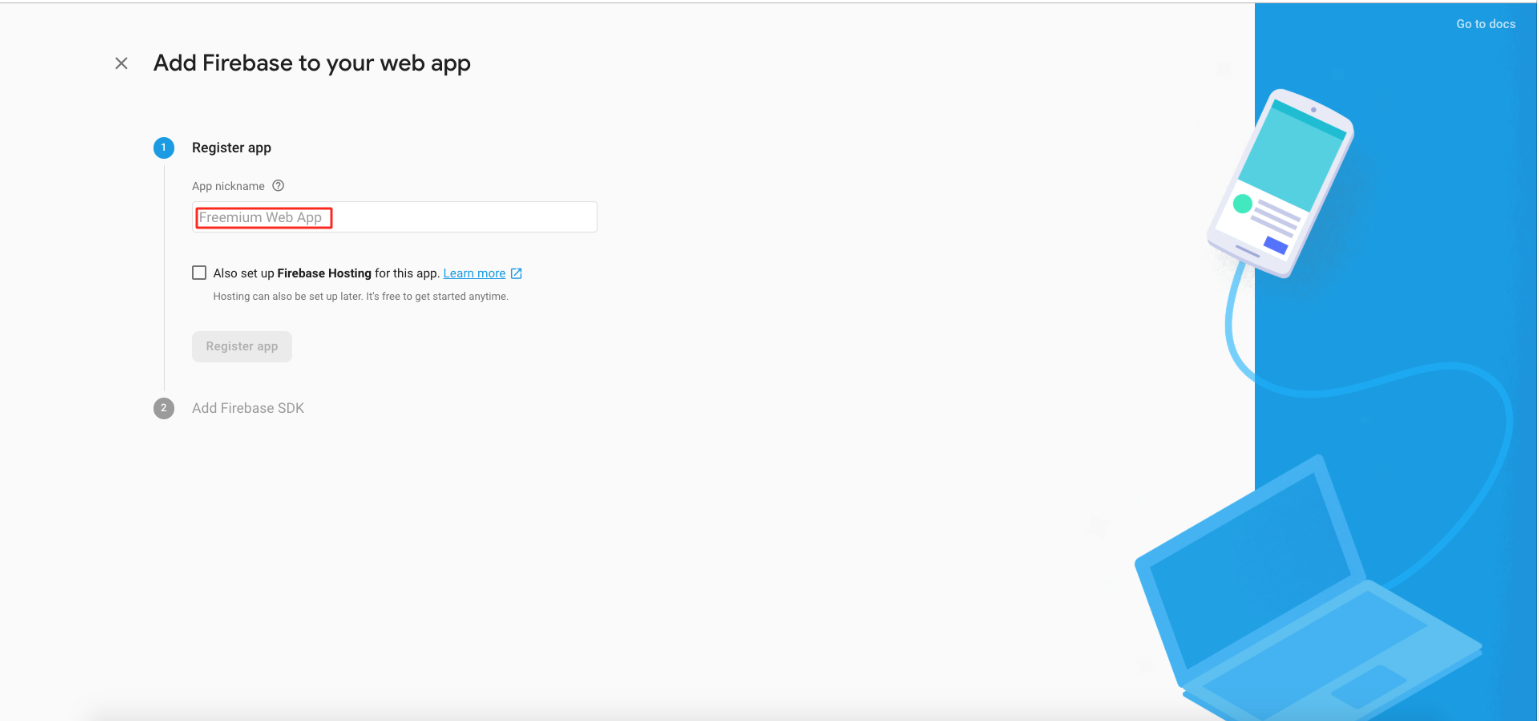
Step 13 : Click on Register app
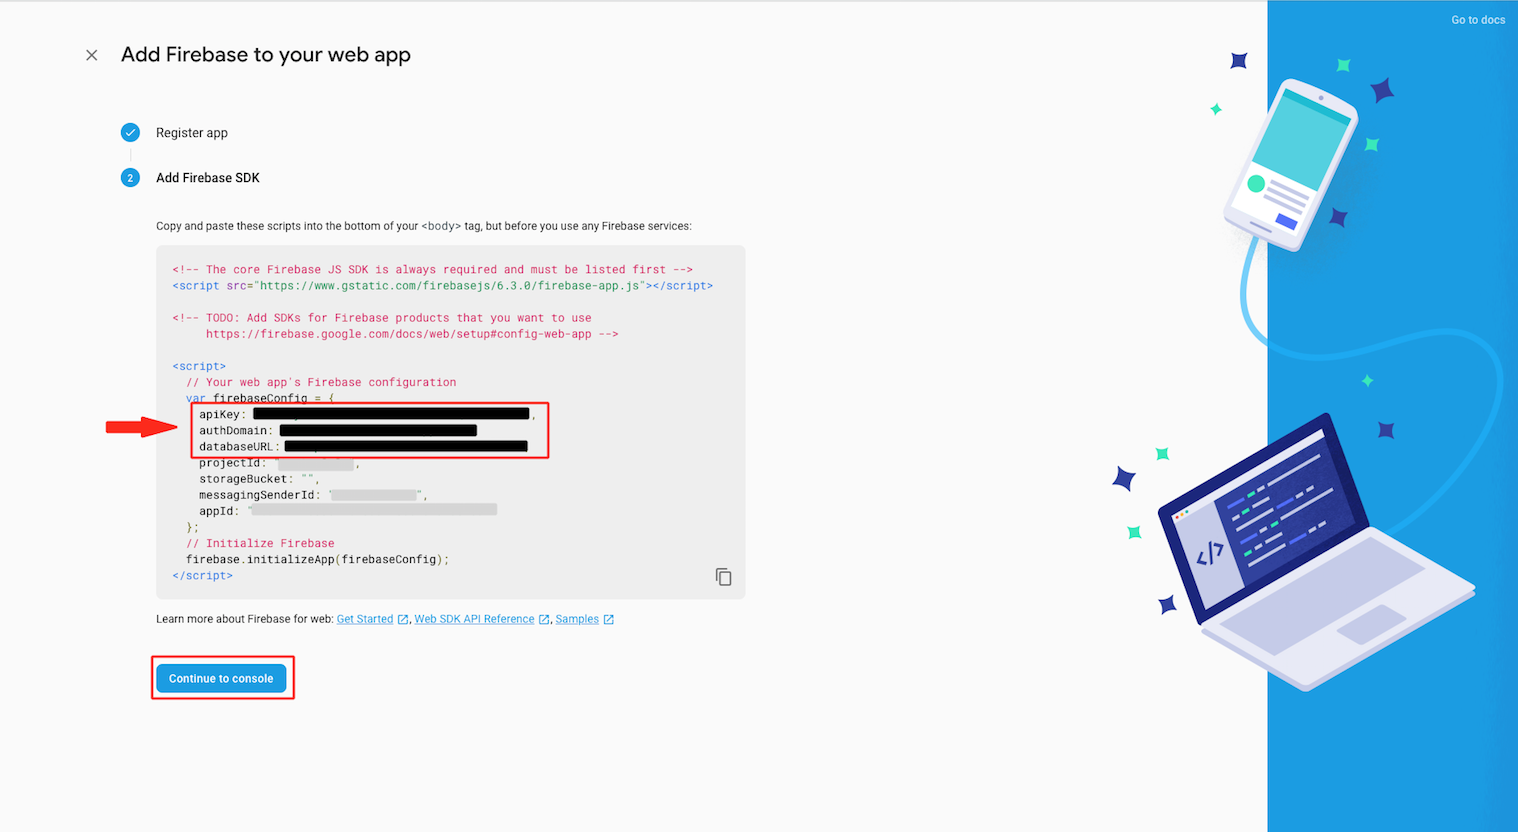
Step 14 : Here is your apiKey, authDomain and databaseURL. Copy appropriate keys and paste them in My Apps >> Editor >> Messenger>> Enter apiKey, authDomain and databaseURL section and click on Continue to Console
Step 15 : Click on Database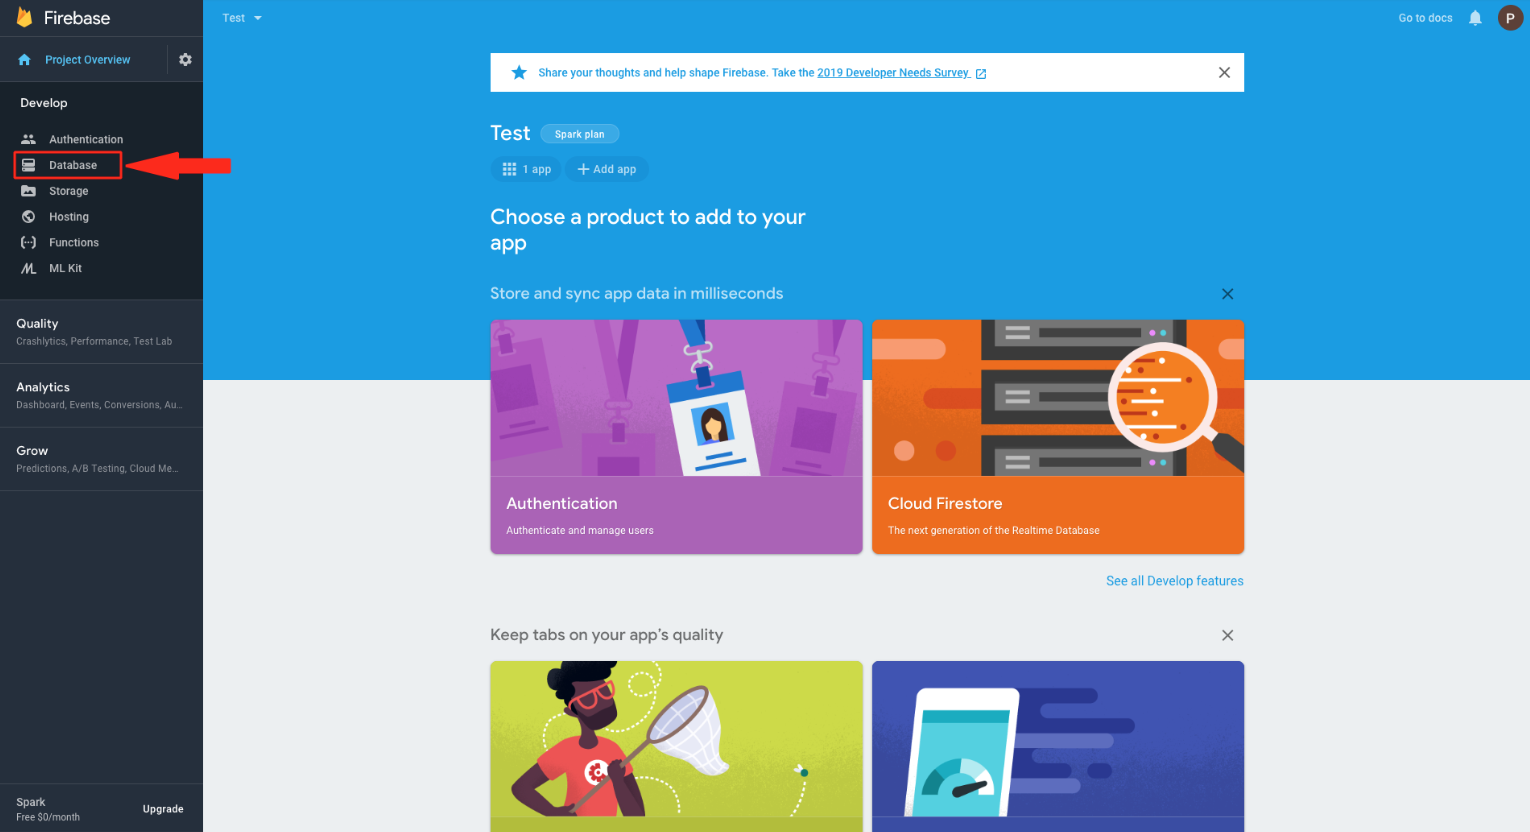
Step 16 : In Real time Database , Click on Create database .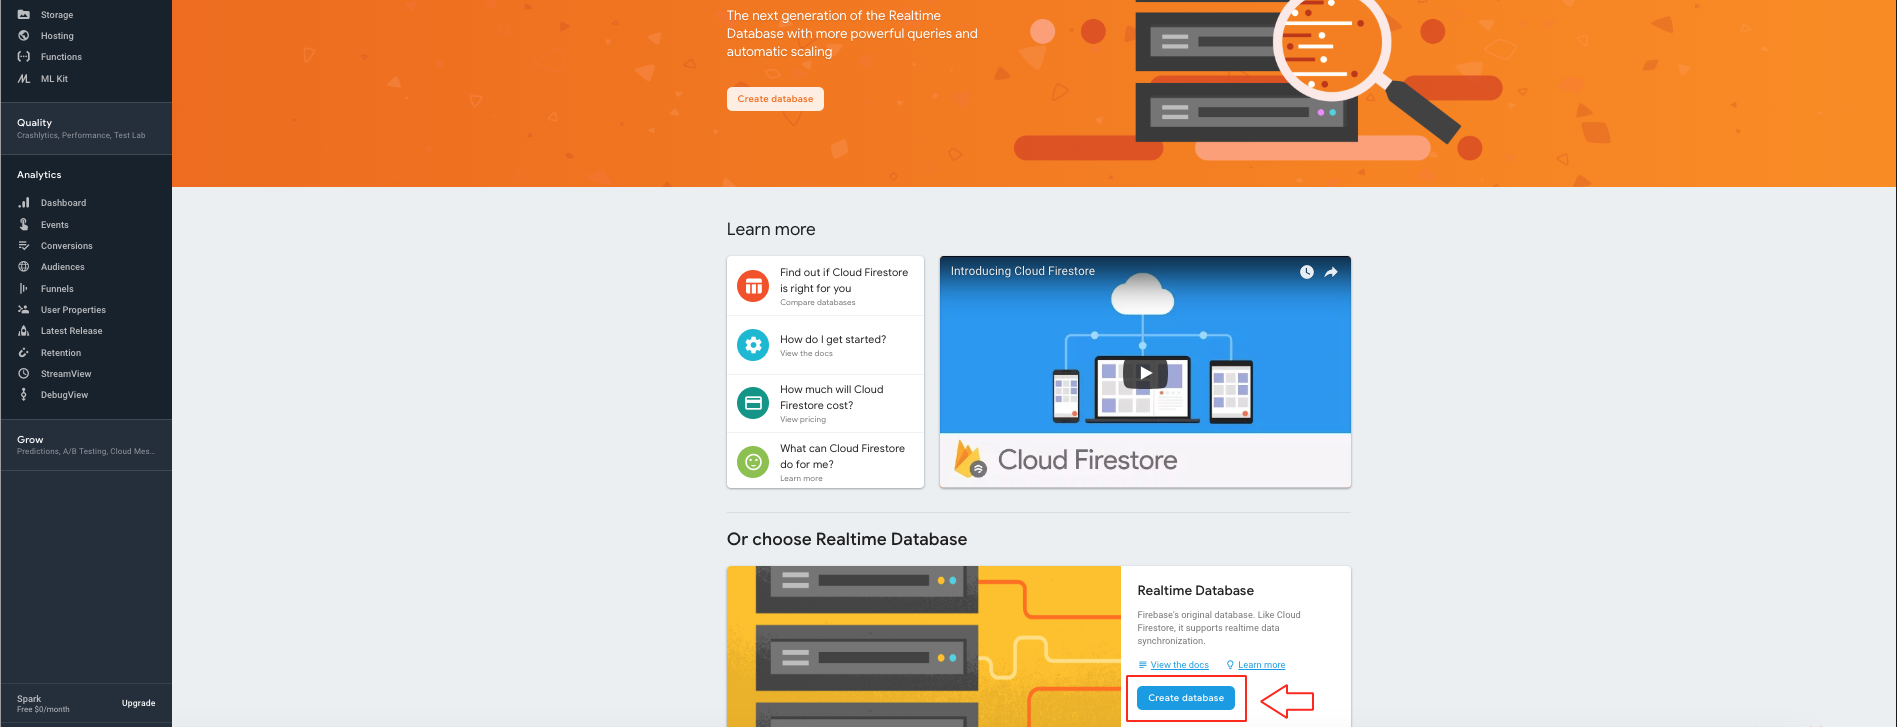
Step 17 : Click on Enable 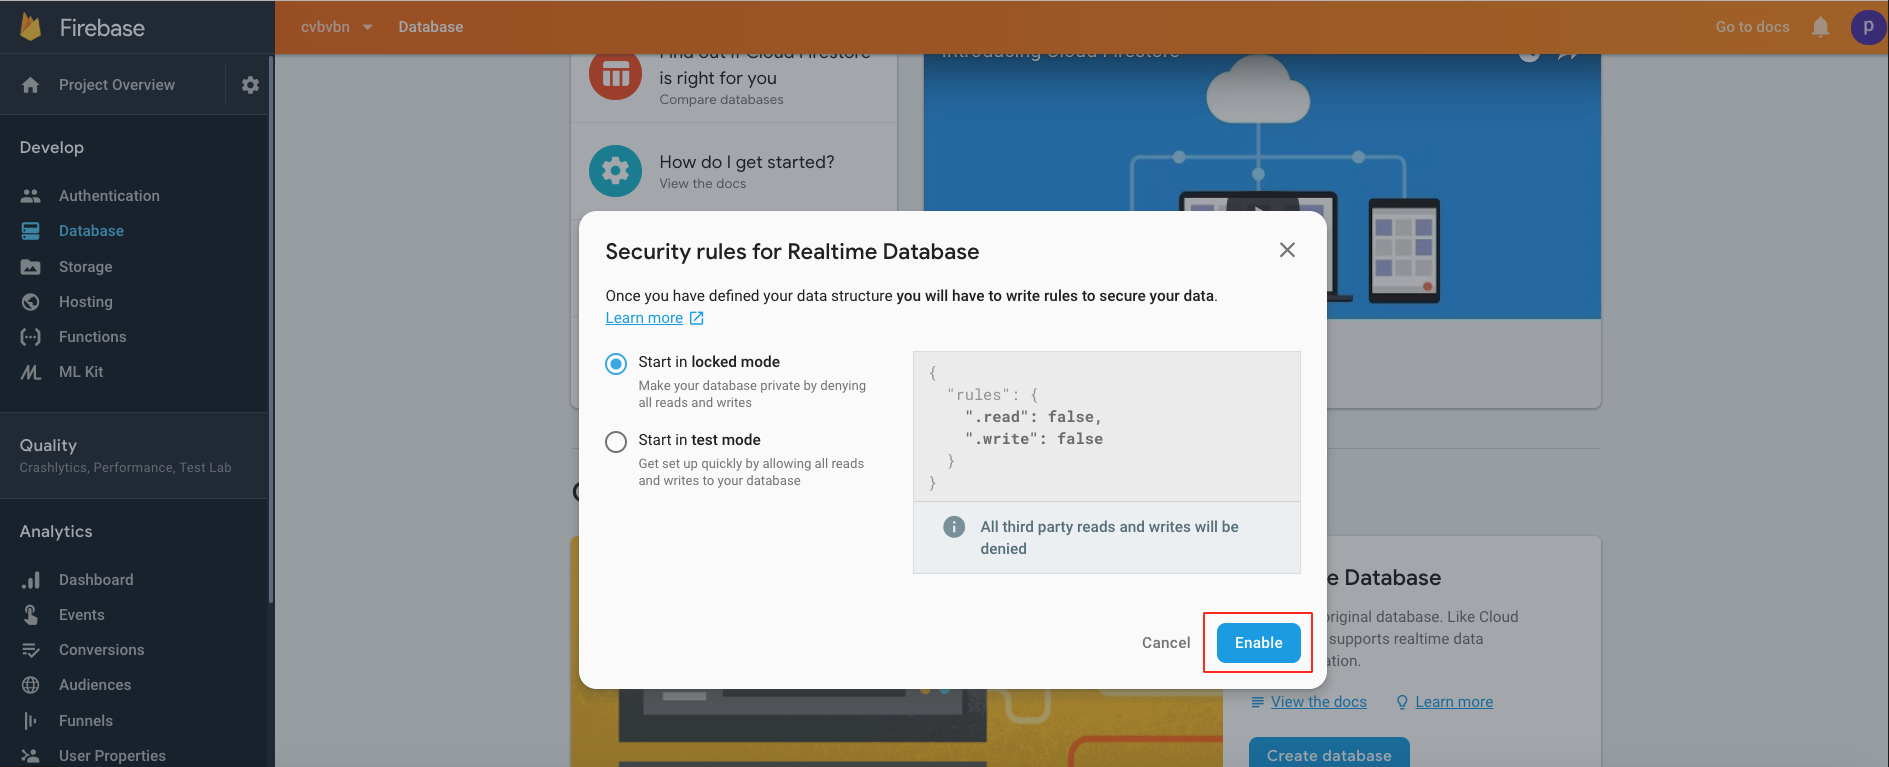
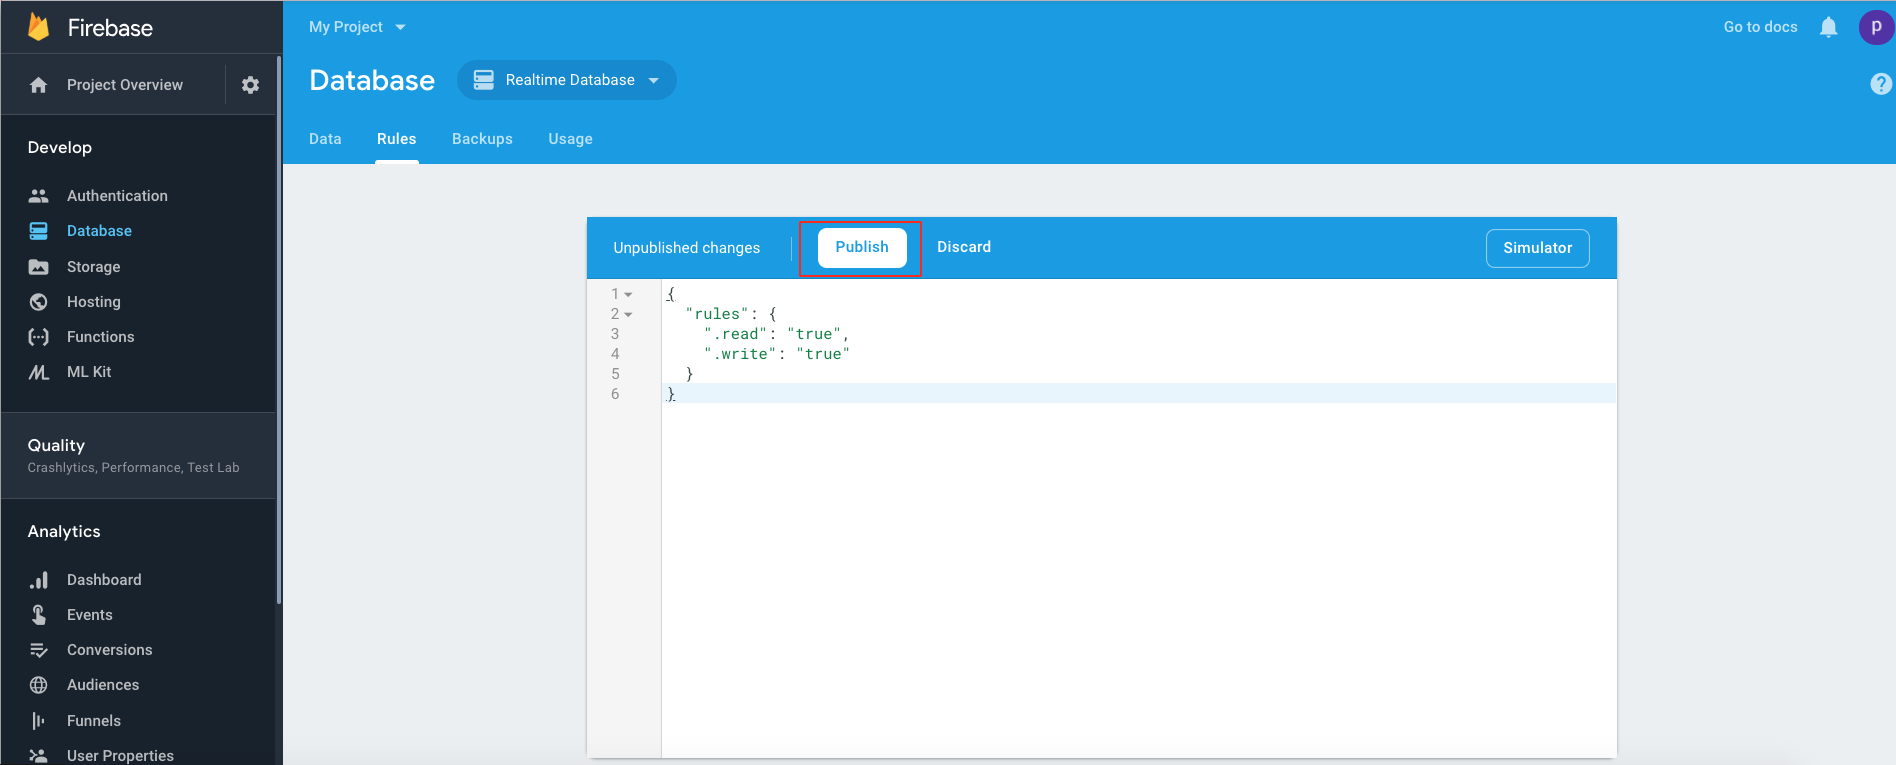
Step 18 : Click on Rules 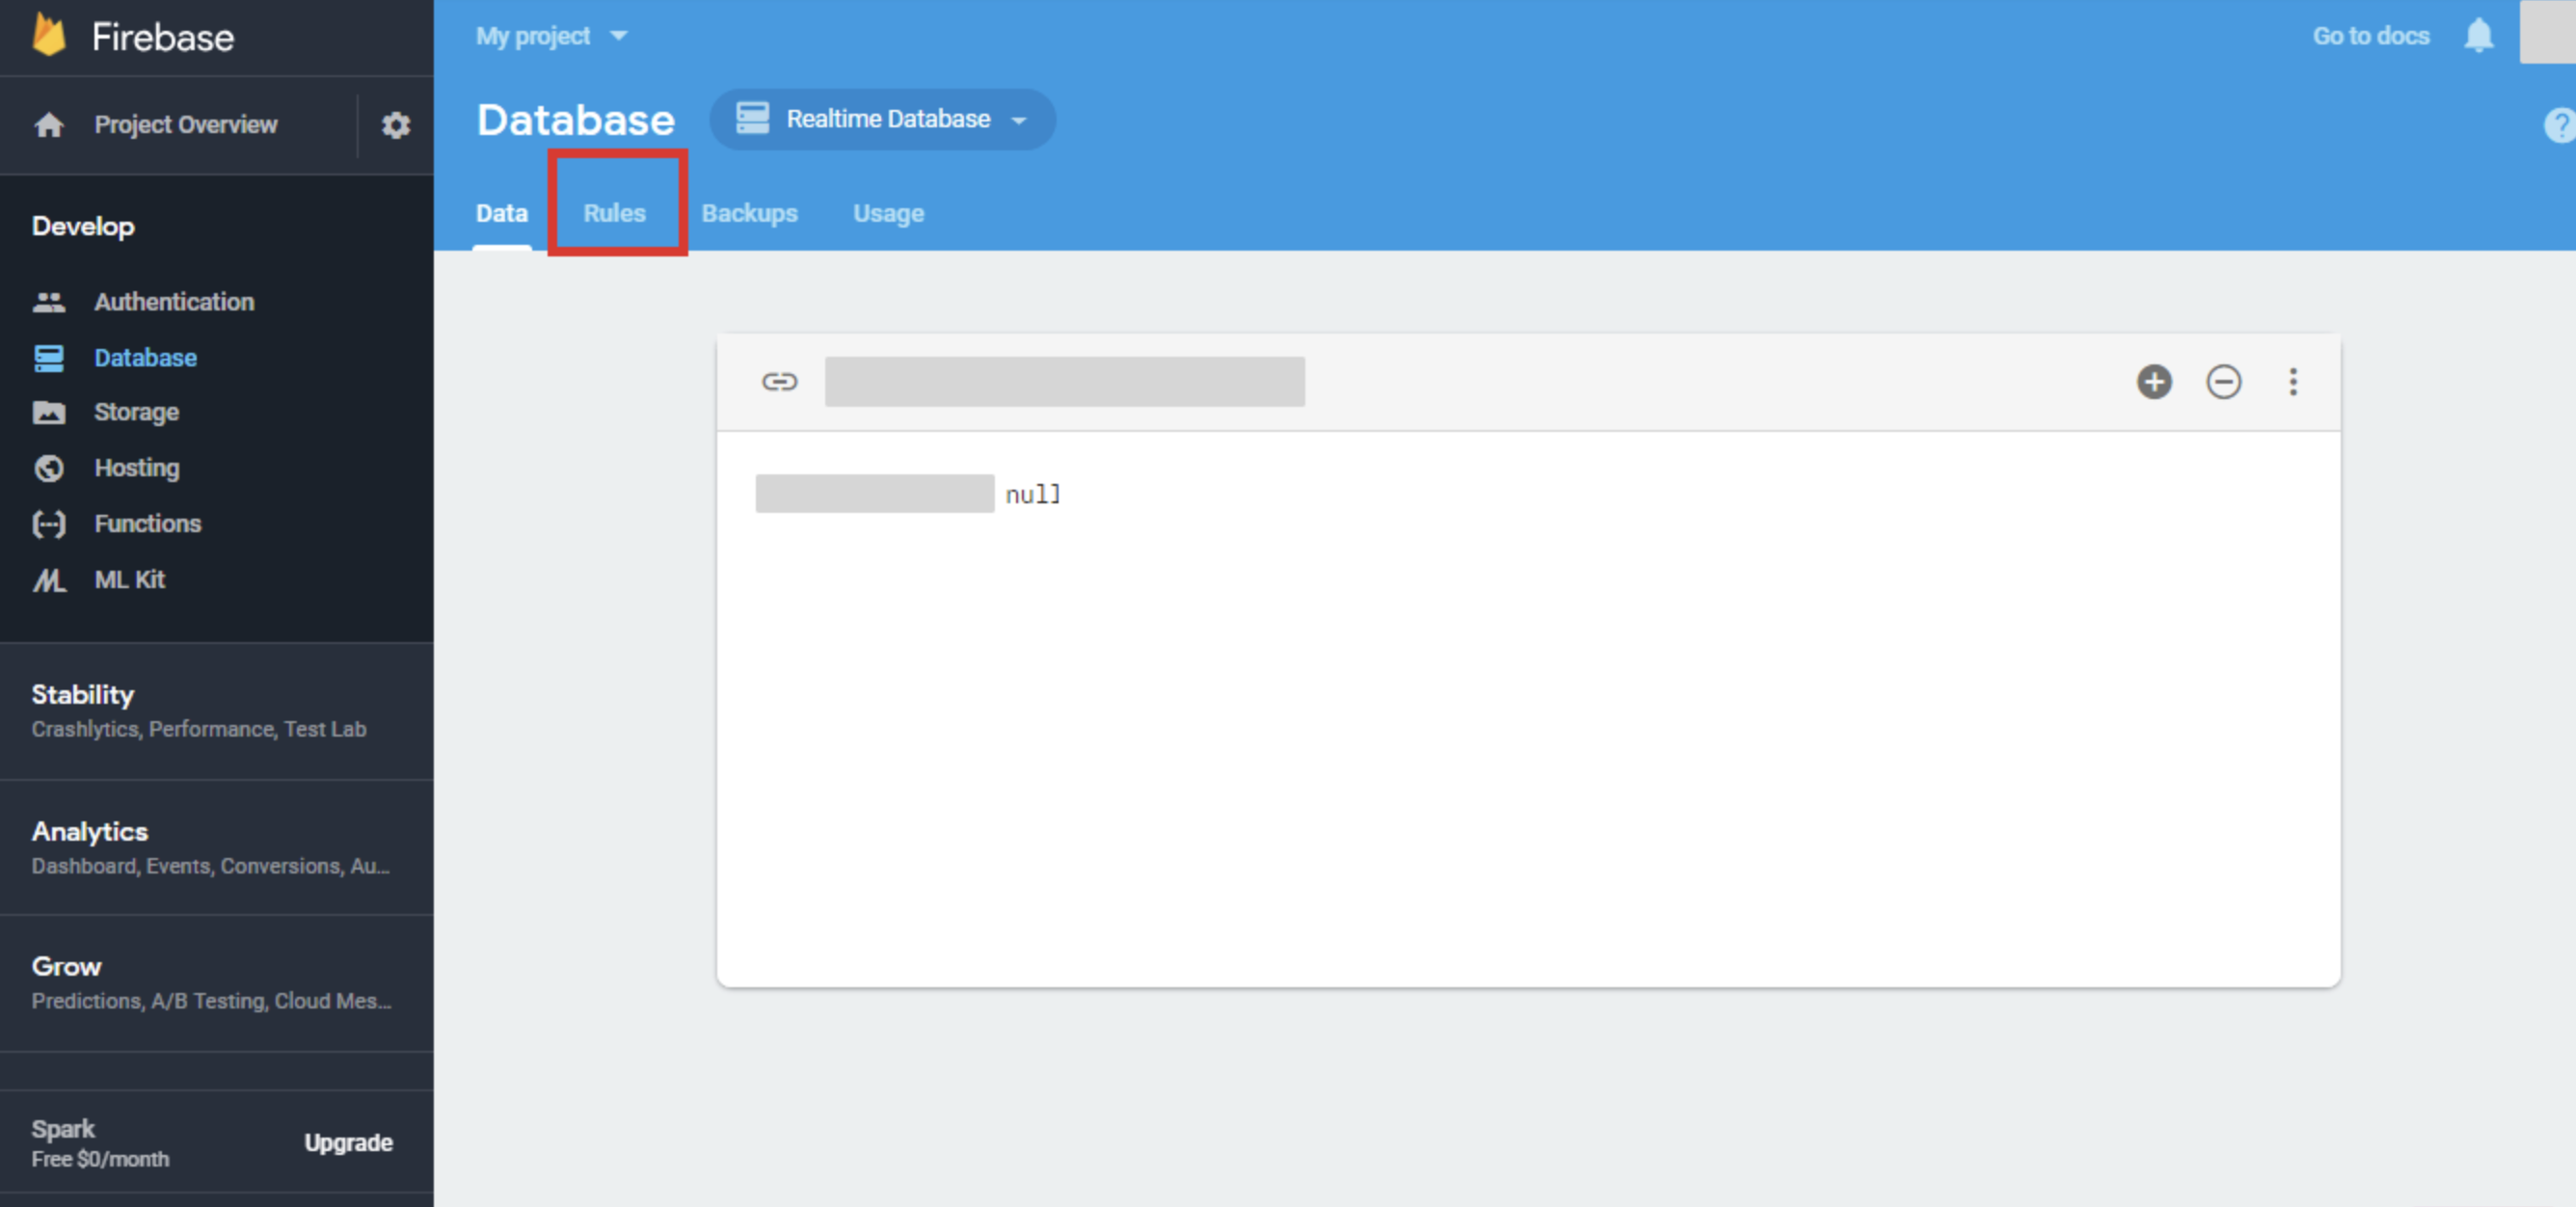
Step 19 : Delete the entire code 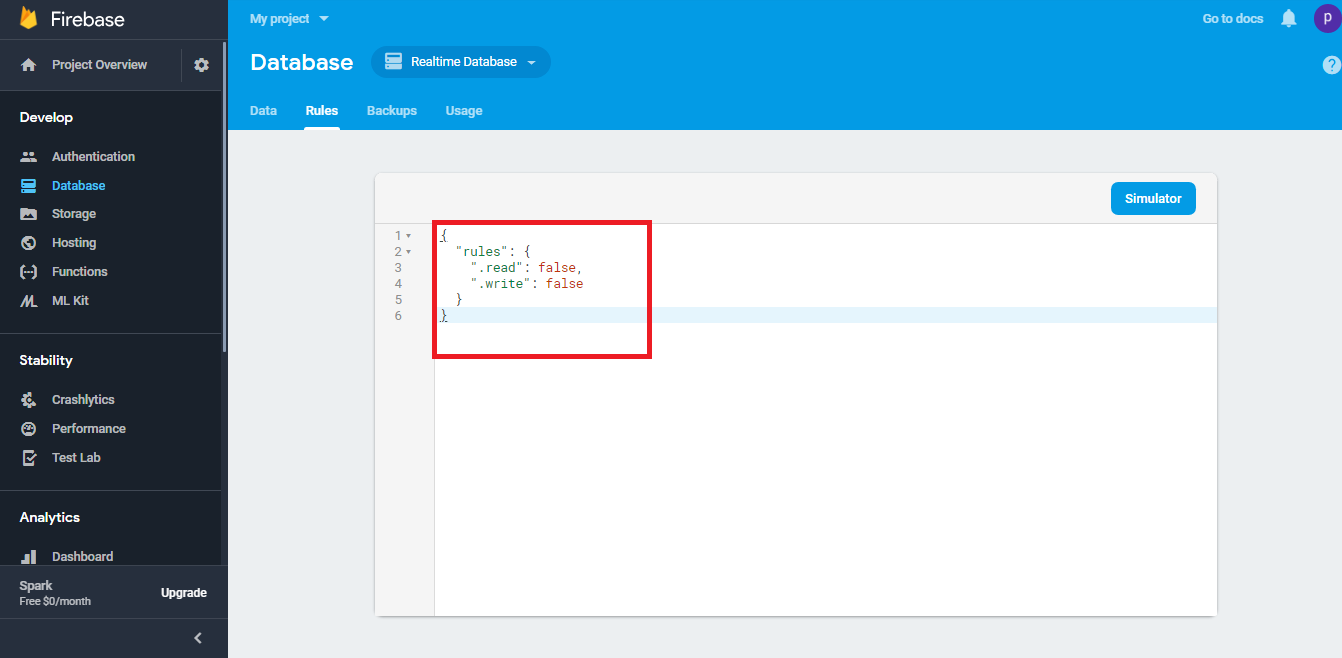
Step 20 : Now enter the following code, and click on Publish
 Step 21 : Click on Storage from left menu.
 Step 22 : click on Get Started
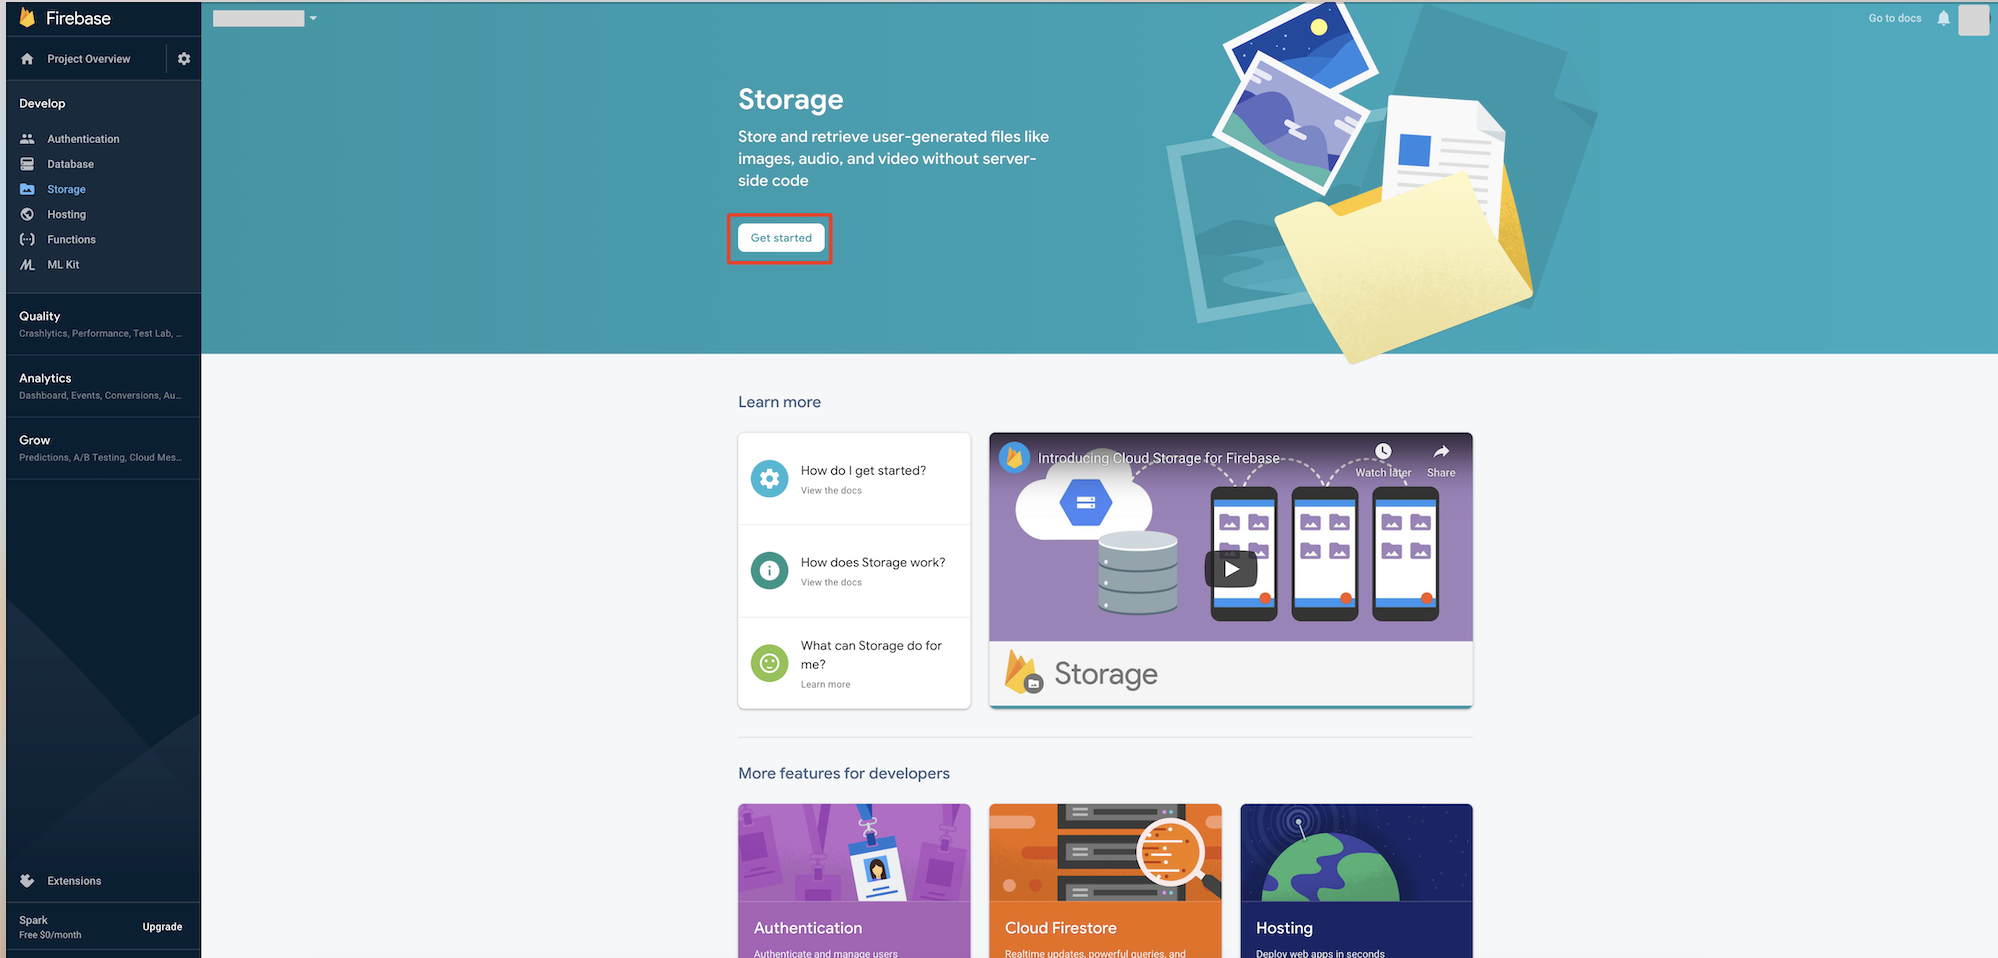
Step 23 : Click on Next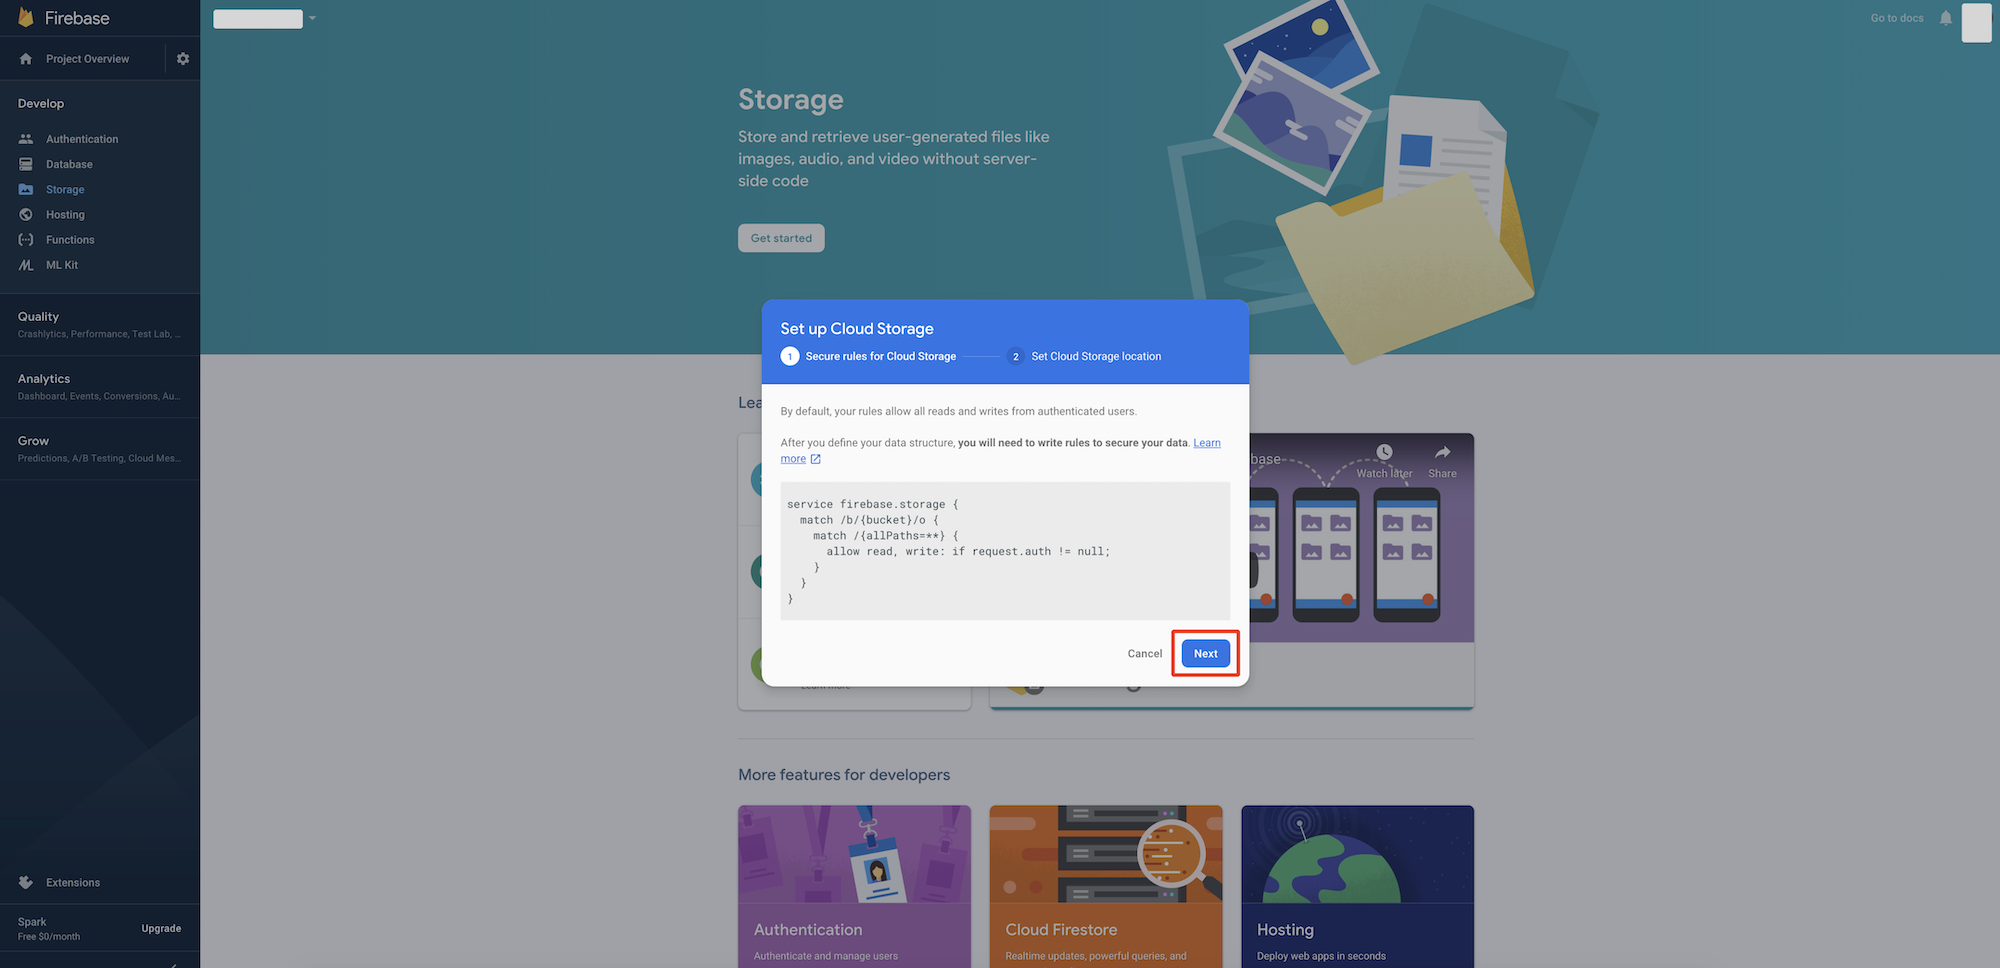
Step 24 : Click on Done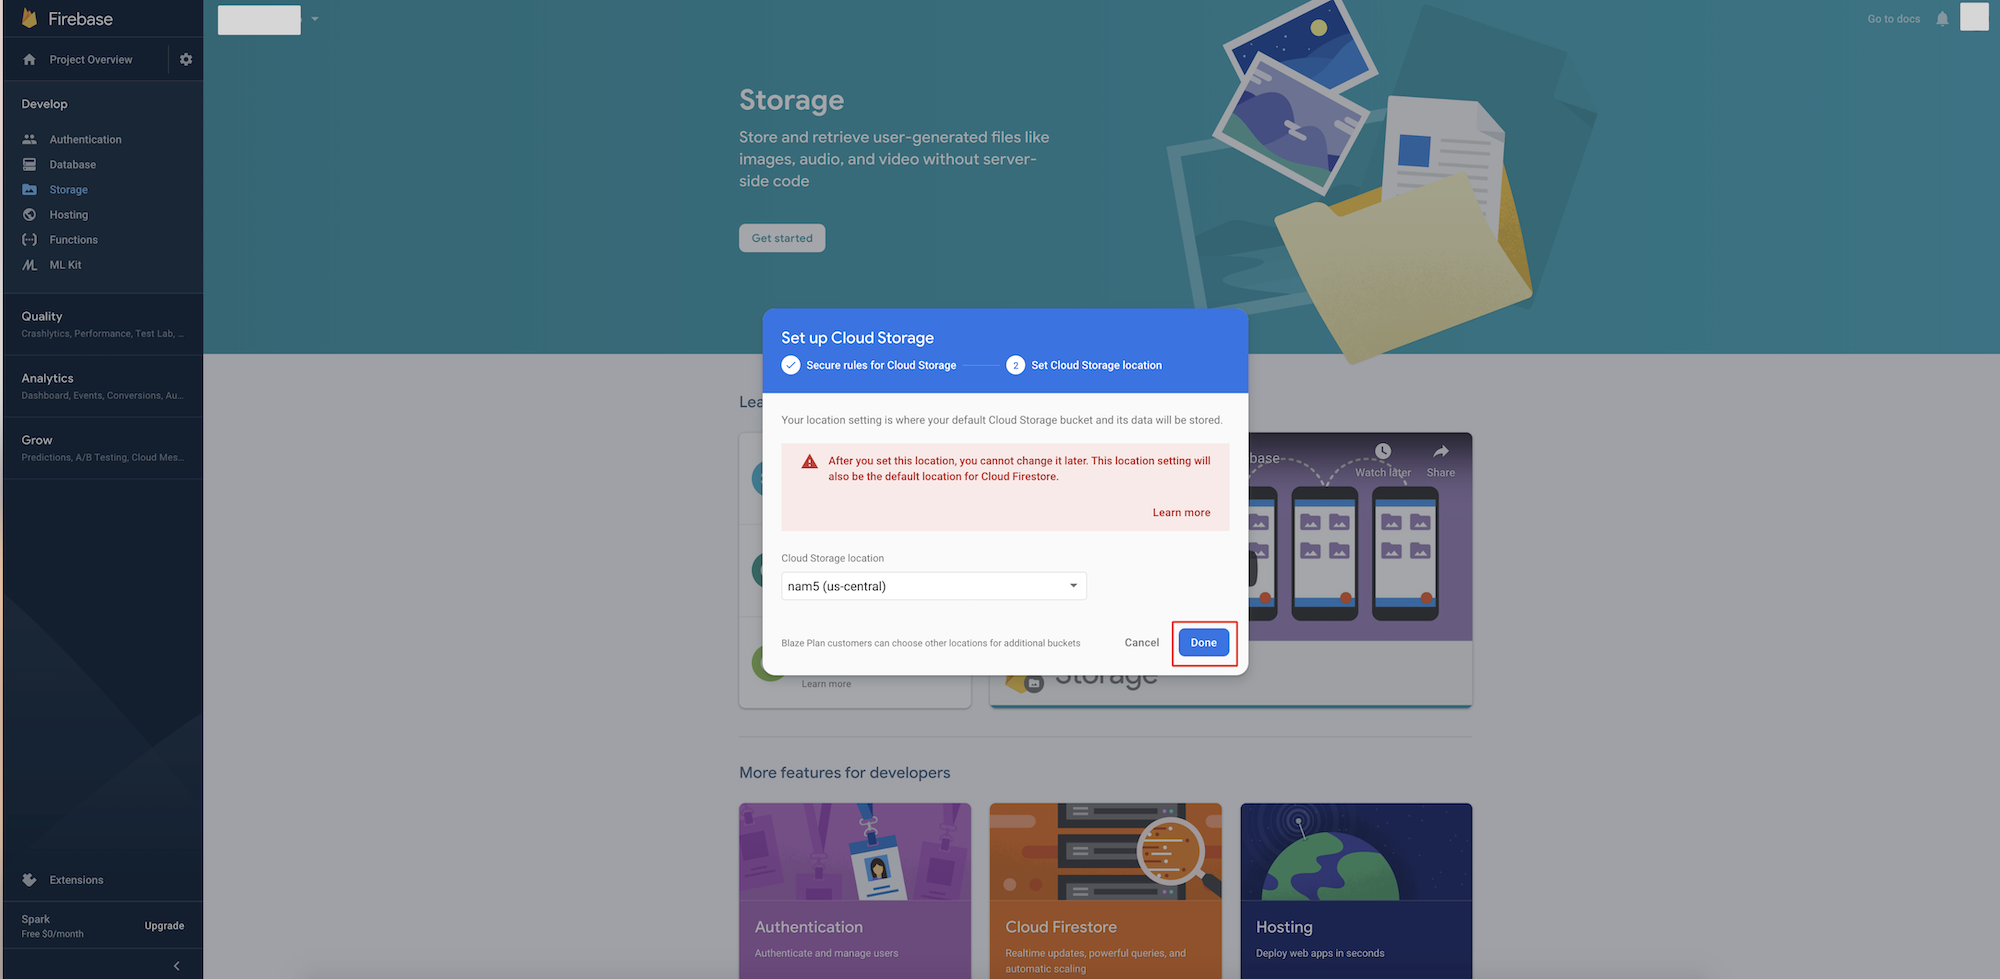
Step 25 : Switch to Rules tab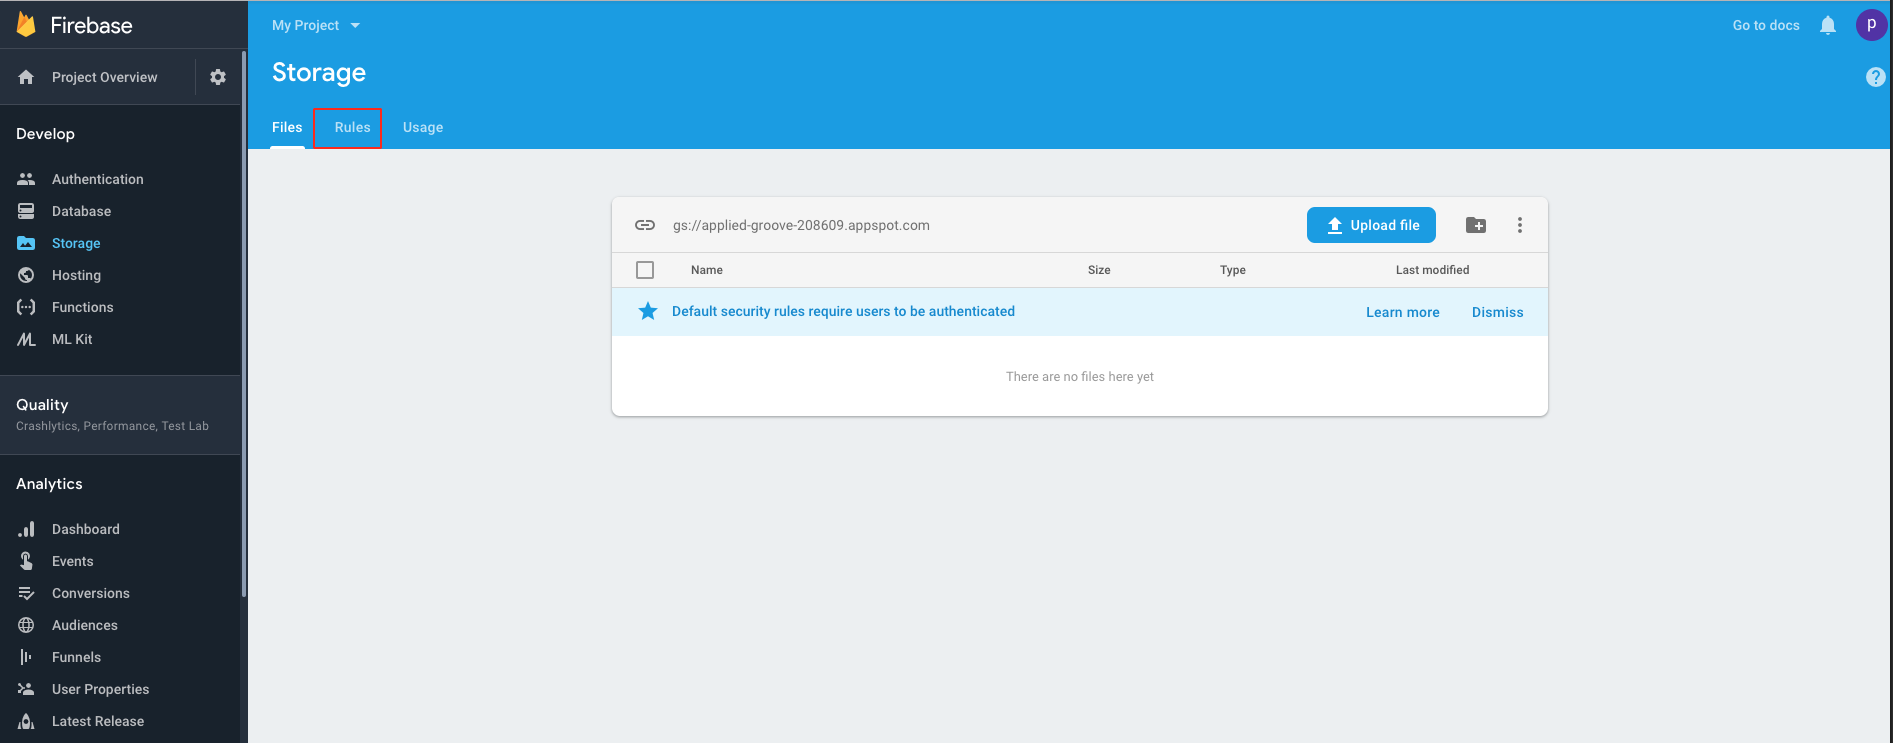 Step 26 : Add "|| request.auth == null" at the last in to the code
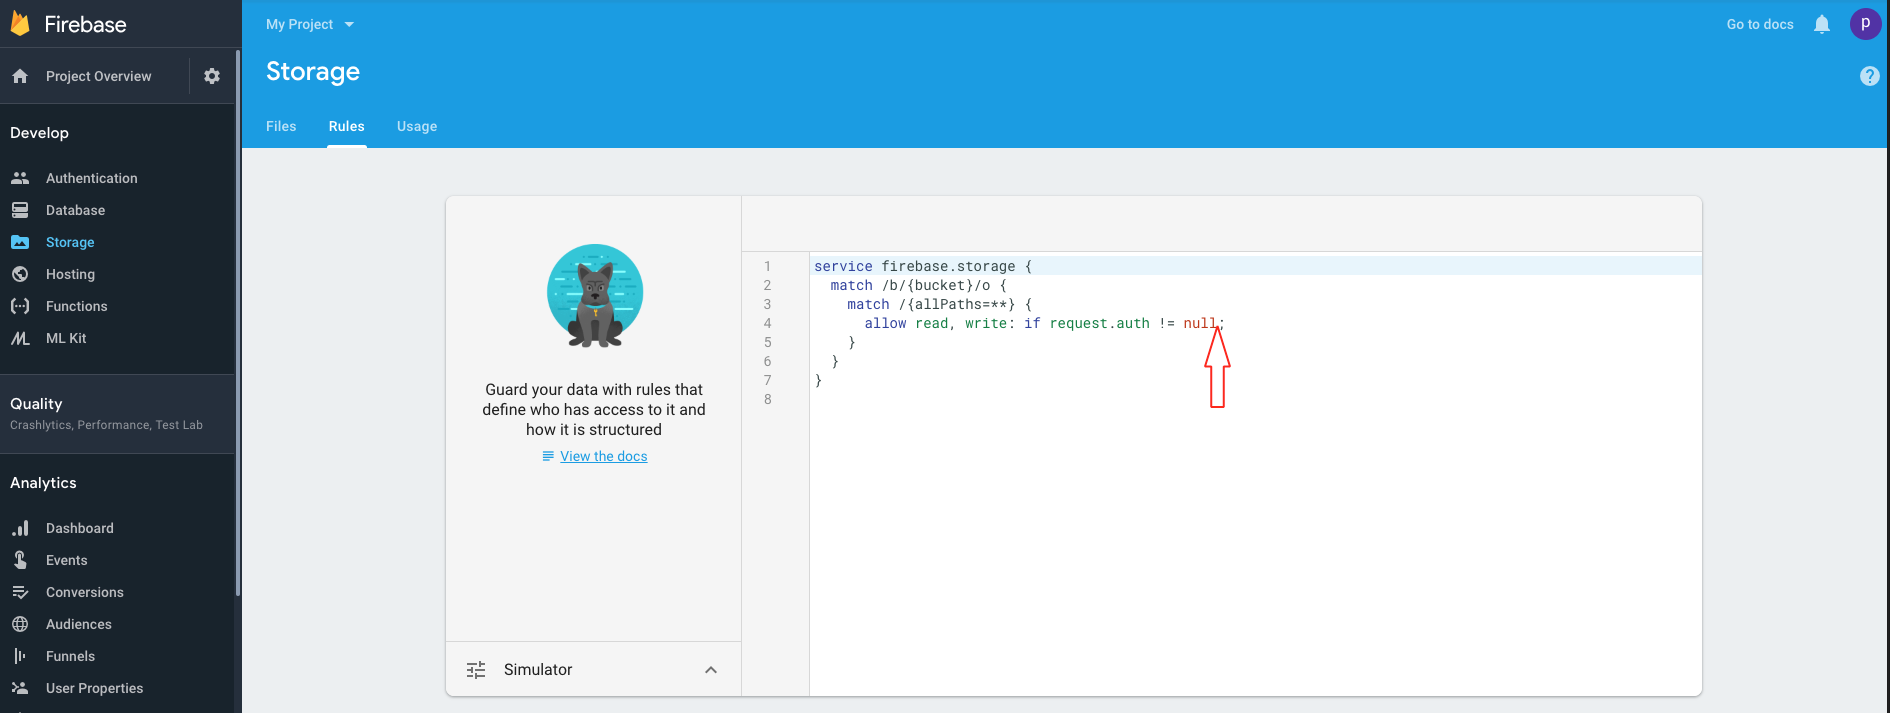 Step 27 : The code(same as into below image), then click on Publish button
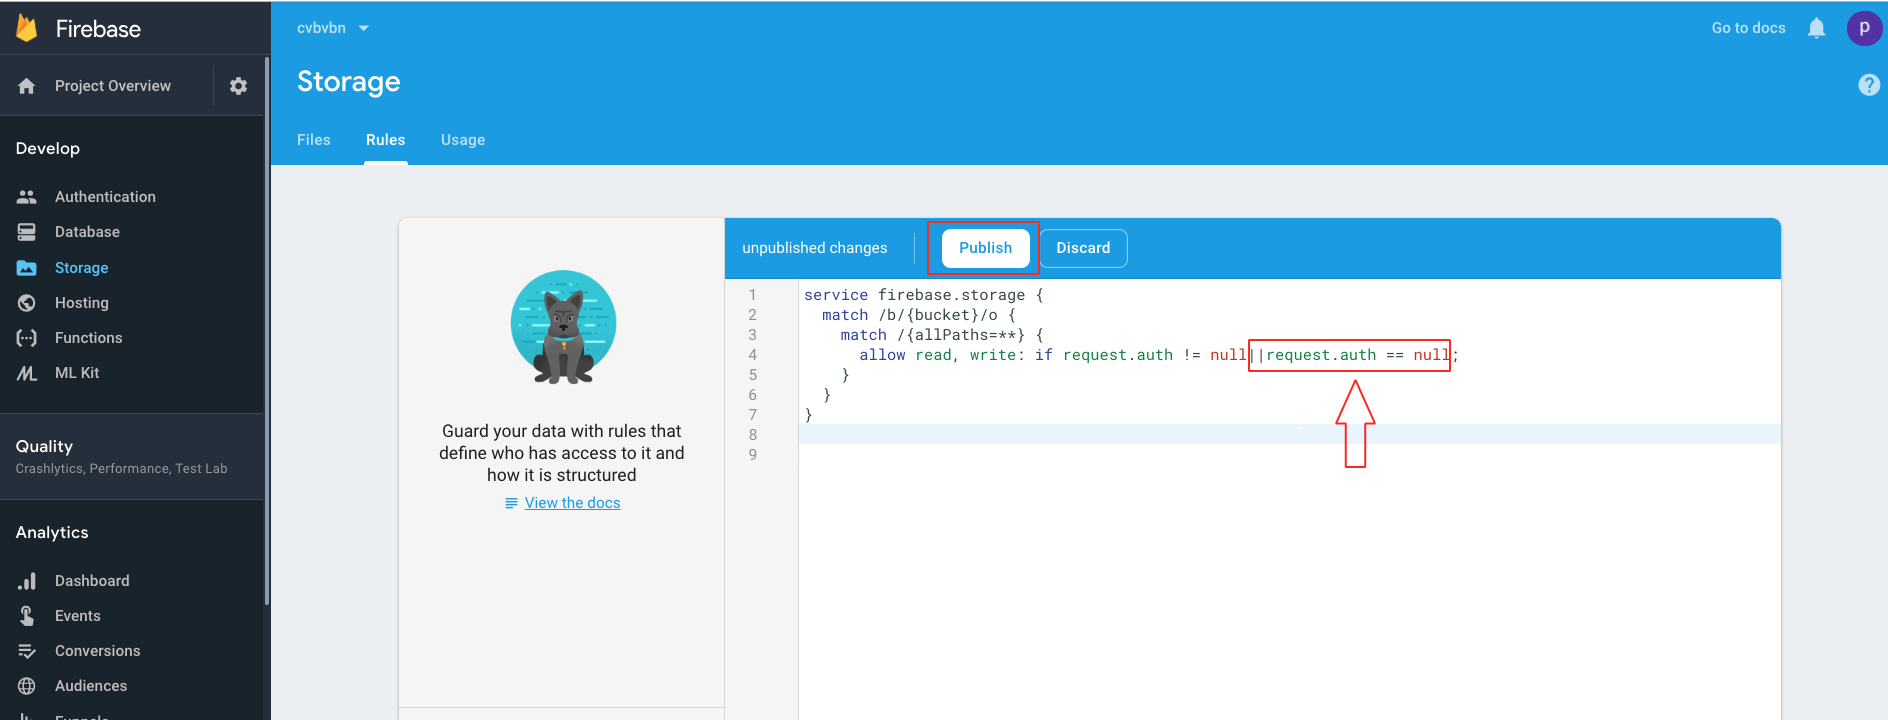
For Existing user :
Step 1 : Go to Firebase.com
Step 2 : If you have a Firebase account, Sign in, else create an account
Step 3 : Click on Get Started
Step 4 : Click on Add Project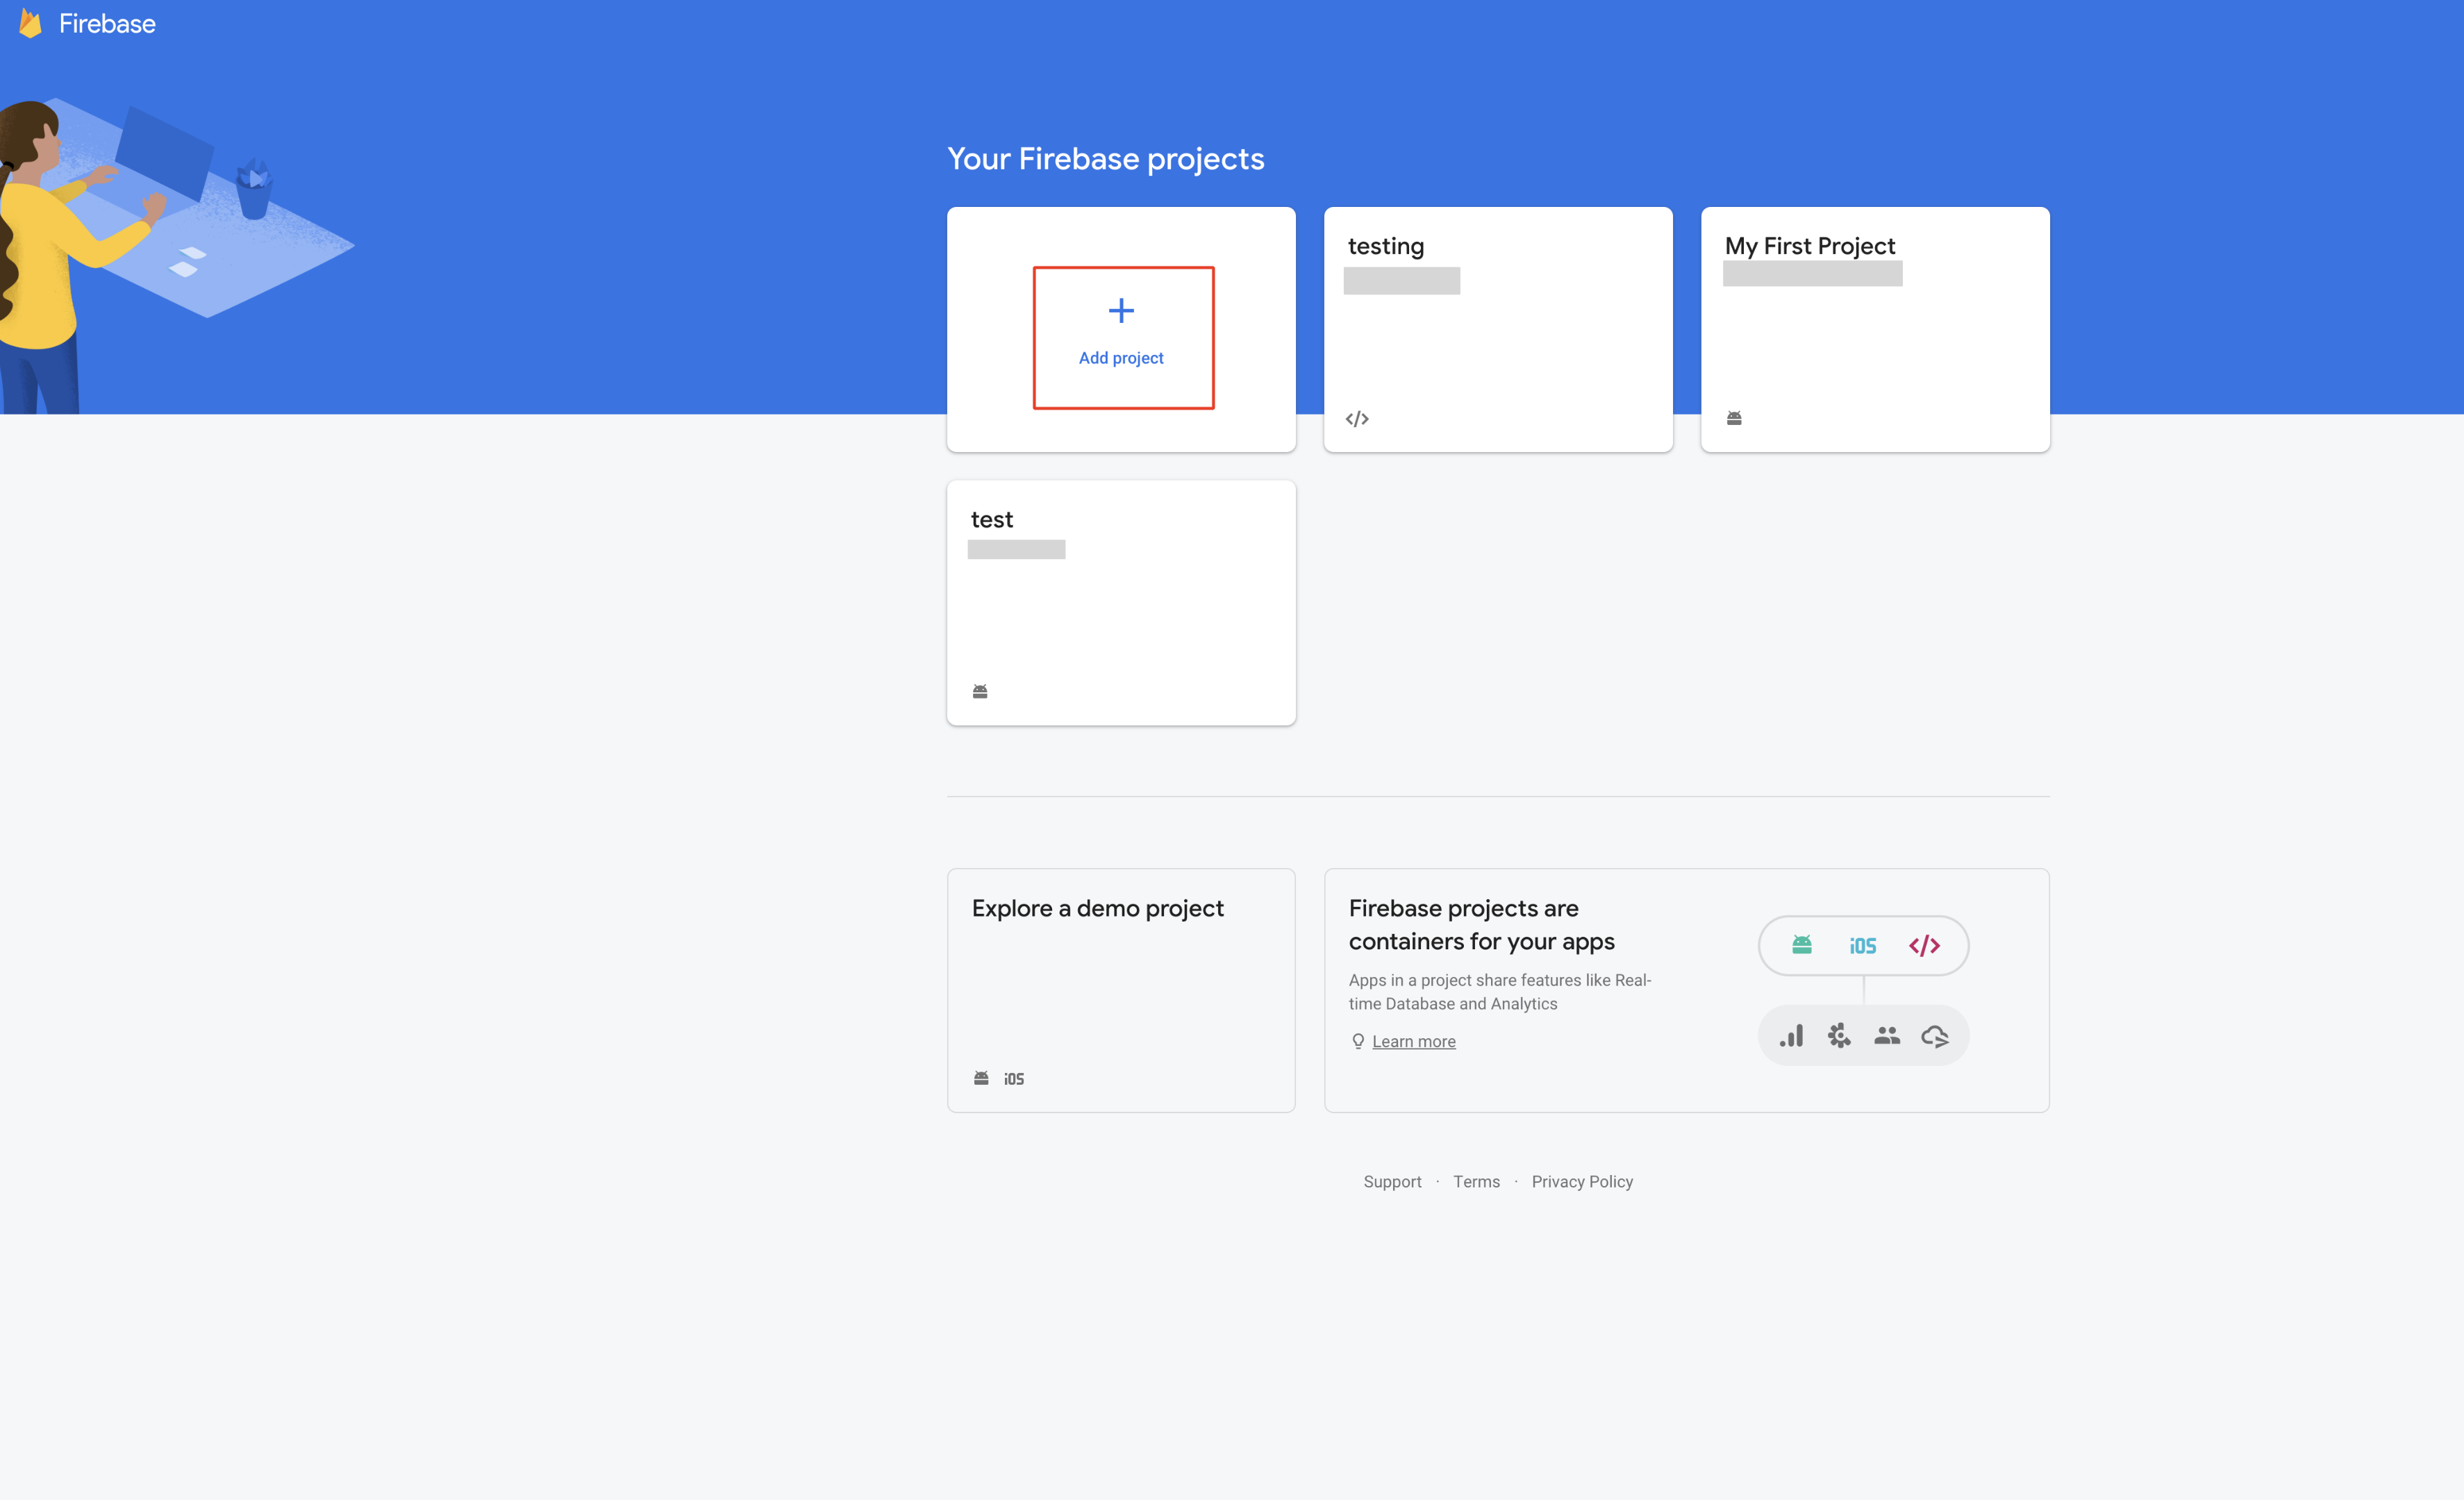
Step 5 : Enter Project name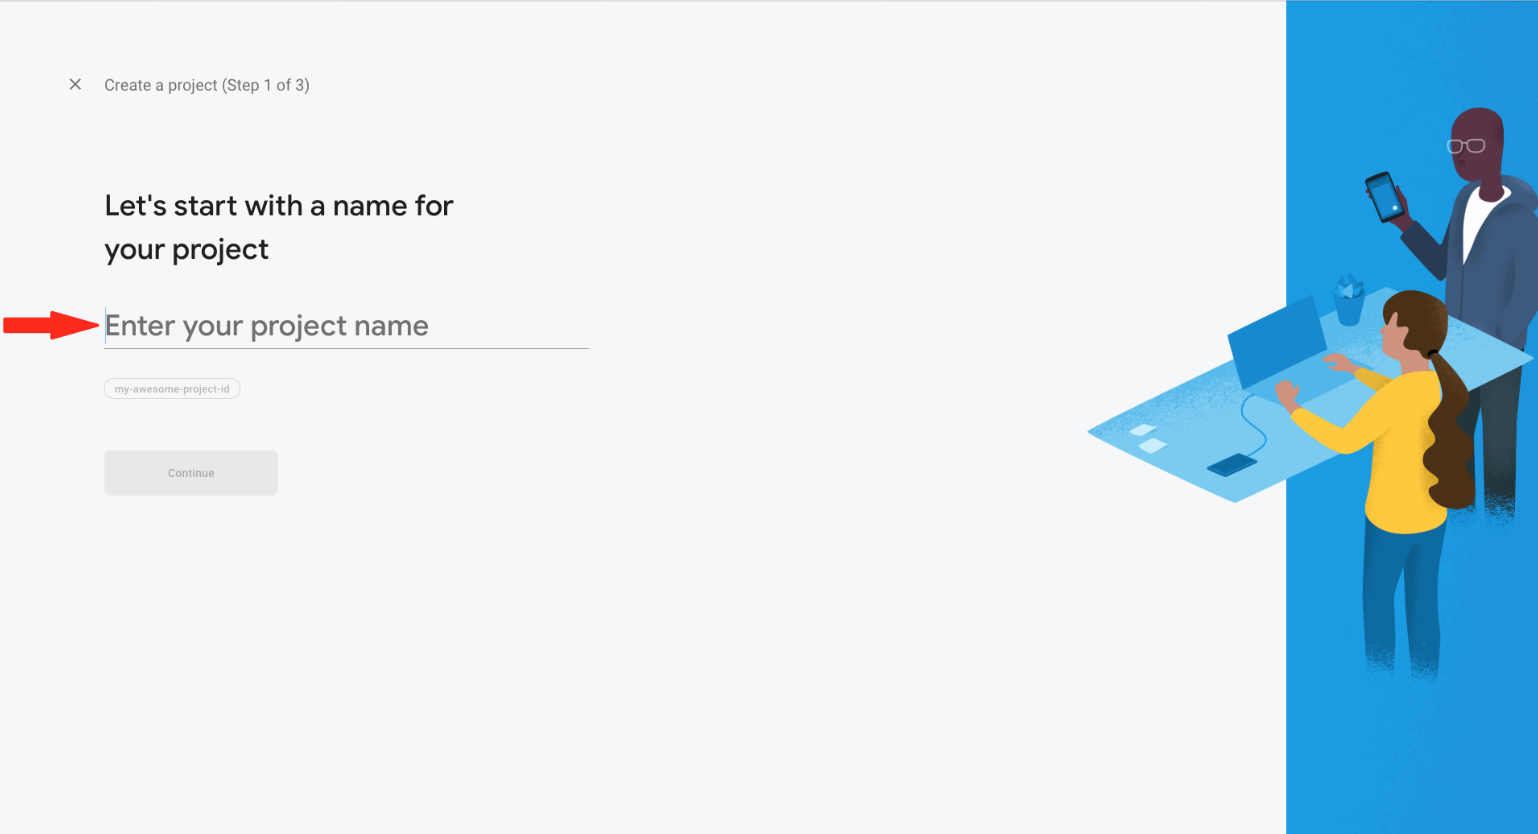
Step 6 : Click on Continue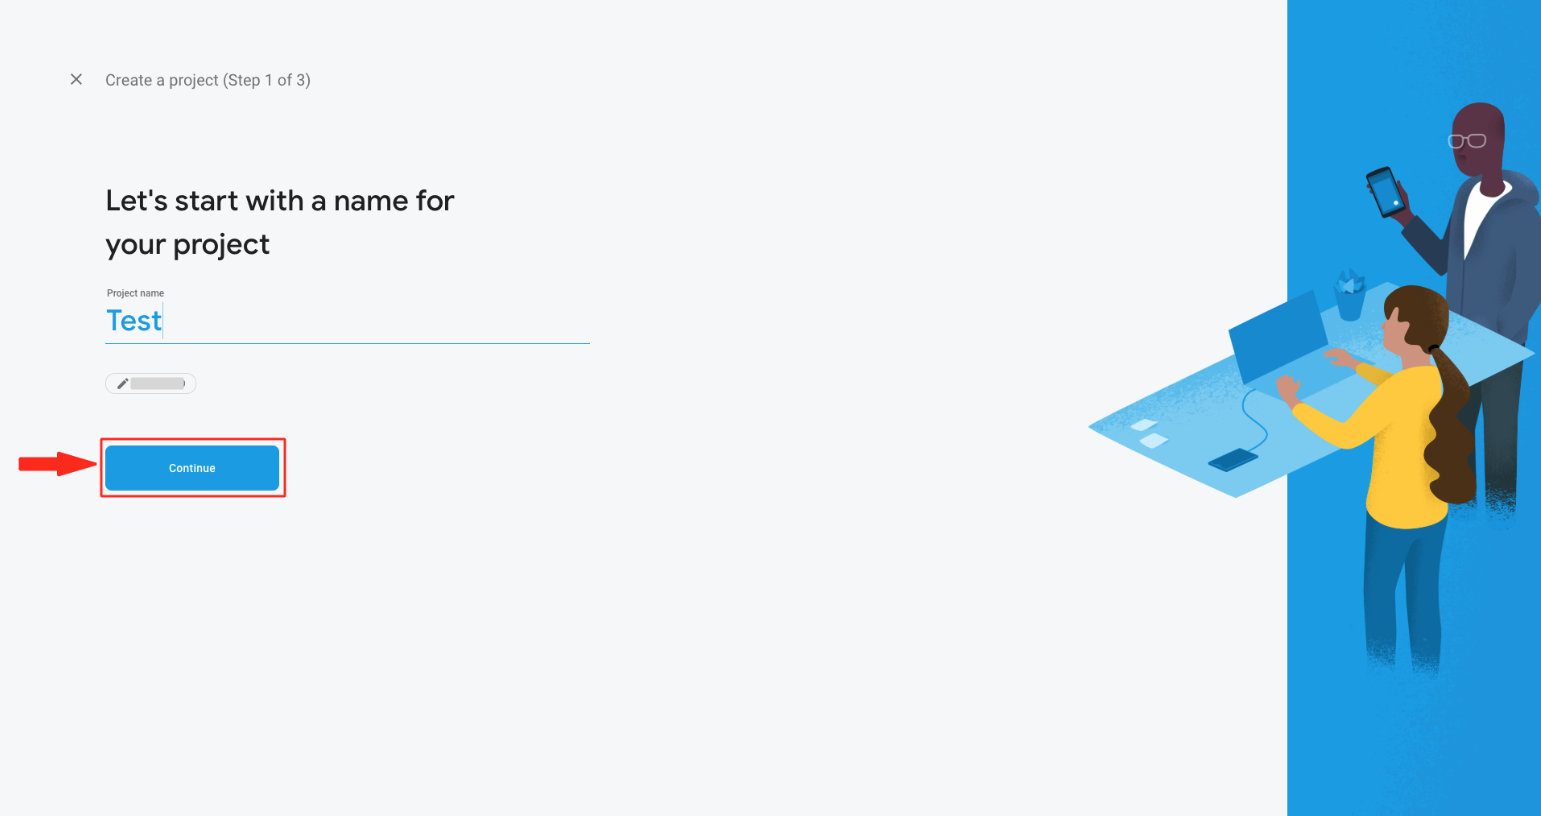
Step 7 : Select "Set up Google Analytics for my project" and click on Continue
Step 8 : Open Configure Google Analytics dropdown menu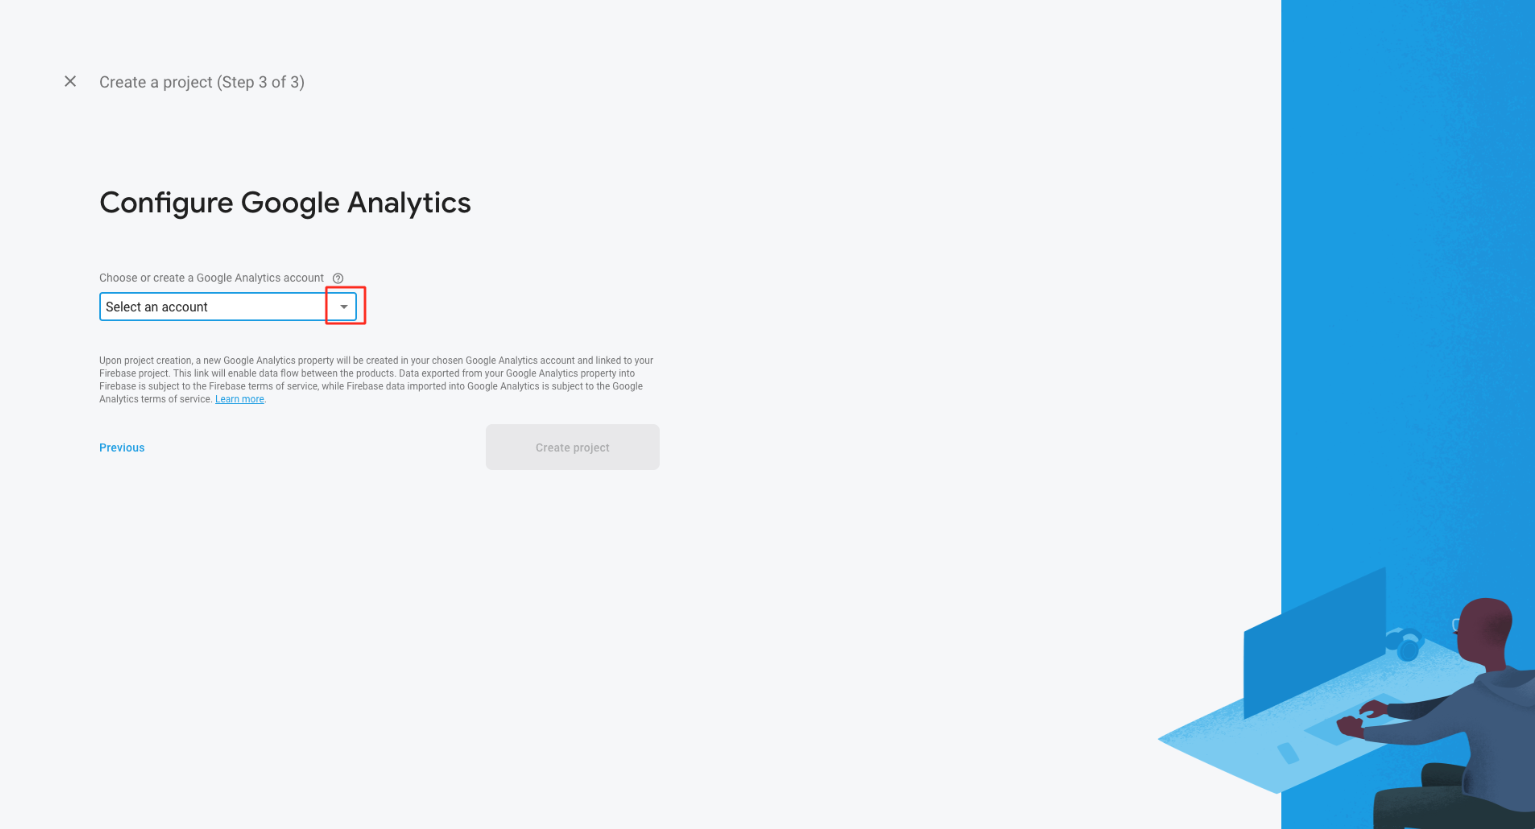
Step 9 : Choose your Google Analytics account or create a new account, and click on Create Project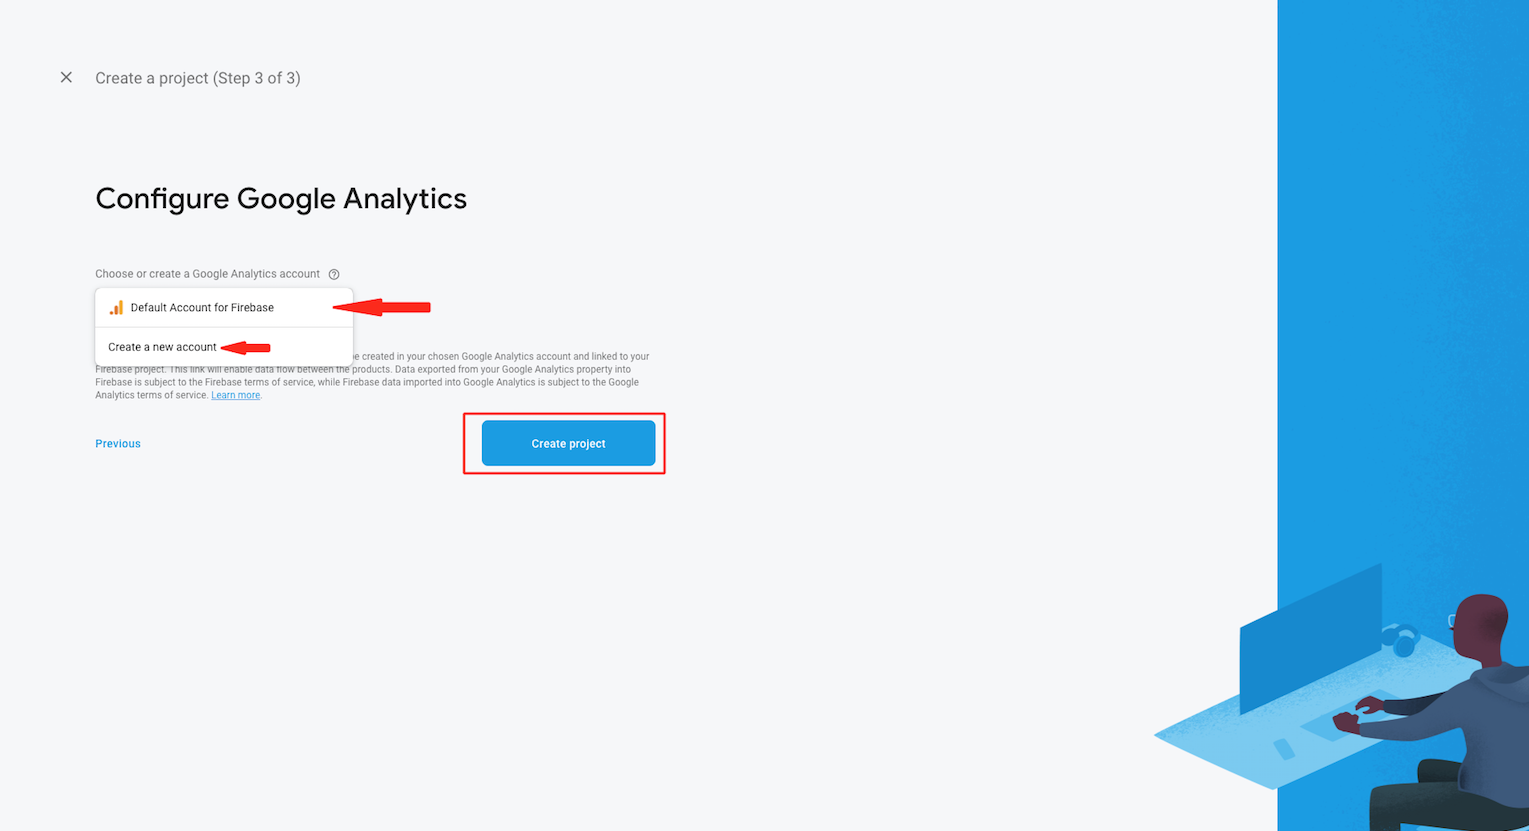
Step 10 : Click on Continue
Step 11 : Click on Add Firebase to your web app
Step 12 : Enter App nickname
Step 13 : Click on Register app
Step 14 : Here is your apiKey, authDomain and databaseURL. Copy appropriate keys and paste them in My Apps >> Editor >> Messenger>> Enter apiKey, authDomain and databaseURL section and click on Continue to Console
Step 15 : Click on Database
Step 16 : In Real time Database , Click on Create database .
Step 17 : Click on Enable
Step 18 : Click on Rules 
Step 19 : Delete the entire code
Step 20 : Now enter the following code, and click on Publish
Step 21 : Click on Storage from left menu.Step 22 : click on Get Started
Step 23 : Click on Next
Step 24 : Click on done
Step 25 : Switch to Rules tabStep 26 : Add "|| request.auth == null" at the last in to the codeStep 27 : The code(same as into below image), then click on Publish button
